August 20th 2018 08:00:28am
Today we are diving into Cinema4D Effectors, and Cloner objects. Today’s video tutorial is unique from my previous Cinema4D video tutorials since it uses all native Cinema4D tools. No third party plugin required. Everyone can build this, and it’s really simple too. Make sure to watch to the very end, I added a quick overview on making Cinema4D and Redshift3D materials.
I originally got the inspiration for this piece while browsing Pinterest and coming across this image:
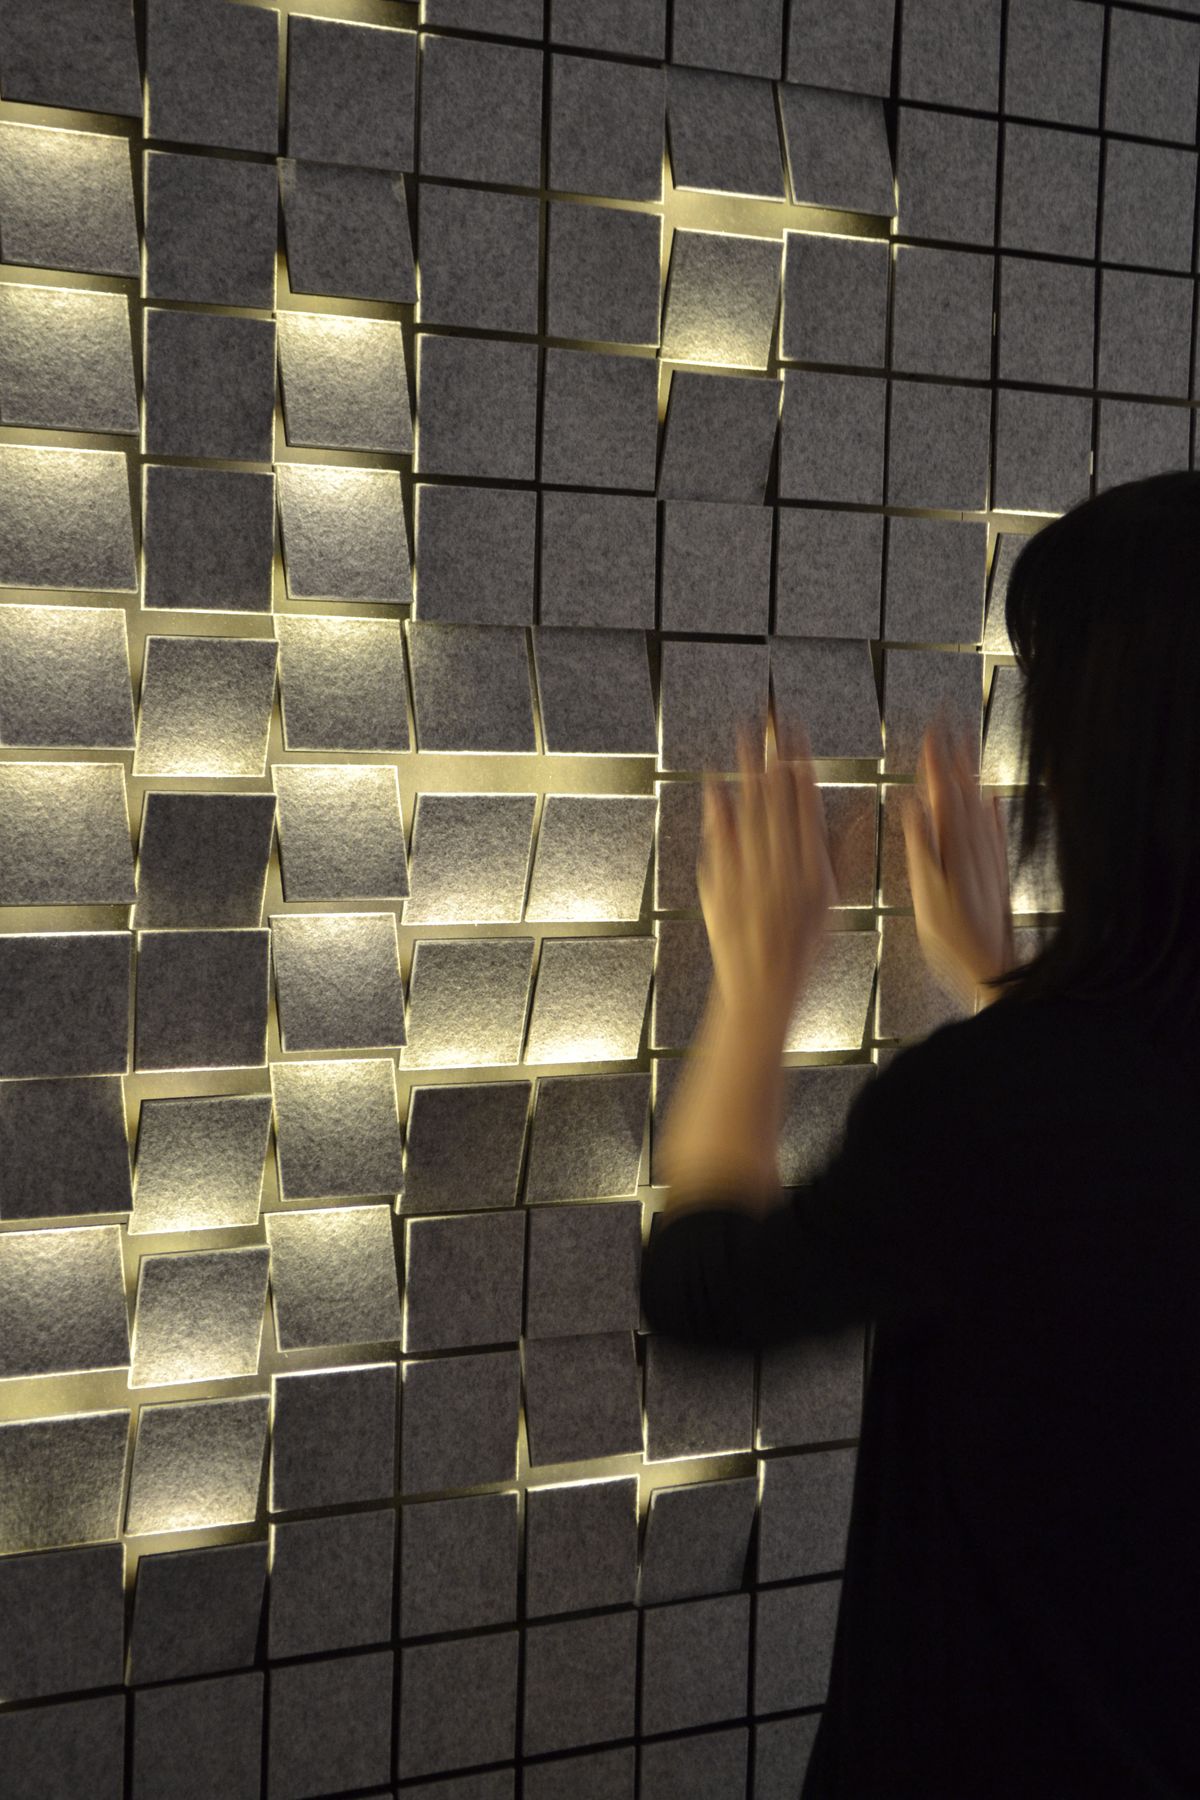
Unfortunately I do not know who to credit on this image. The data on Pinterest was stripped out. So if you do know who created this, please let me know.
I really liked the overall look, and lighting scheme. Initially, I was going to recreate this photo with similar textures, and lighting interaction. Upon trying to make this work though with point lights and mesh lights, I had quickly discovered a limitation within Redshift3D.
A Cloner object was being used to create each tile and an attached light. Cloned Redshift3D lights it turns out can not be accessed the same way as an object can. Due to how Redshift3D handles lights at render time, I was only able to drive the color and intensity with a single value from the MoGraph data instead of each clone value. Since I was now unable to build this in a literal way by using Redshift3D lights, I decided to evolve it a bit.
As a side note, Cinema4D native lights in a cloner can be accessed. It involves a little bit of Xpresso to so too. You can drive the color and intensity of each light based on the MoGraph color data. I may make this a later tutorial at some point.
Using an emissive material approach seemed to accomplish what I was aiming for almost. I had to make a few compromises though. One of which was not being able to have the lighting interact with an environment volume. Redshift3D material emission does not effect volumes yet unfortunately, but I did find out that this option is slated to be included in the 3.0 release. Hopefully coming soon.
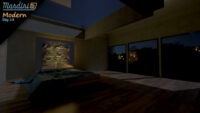
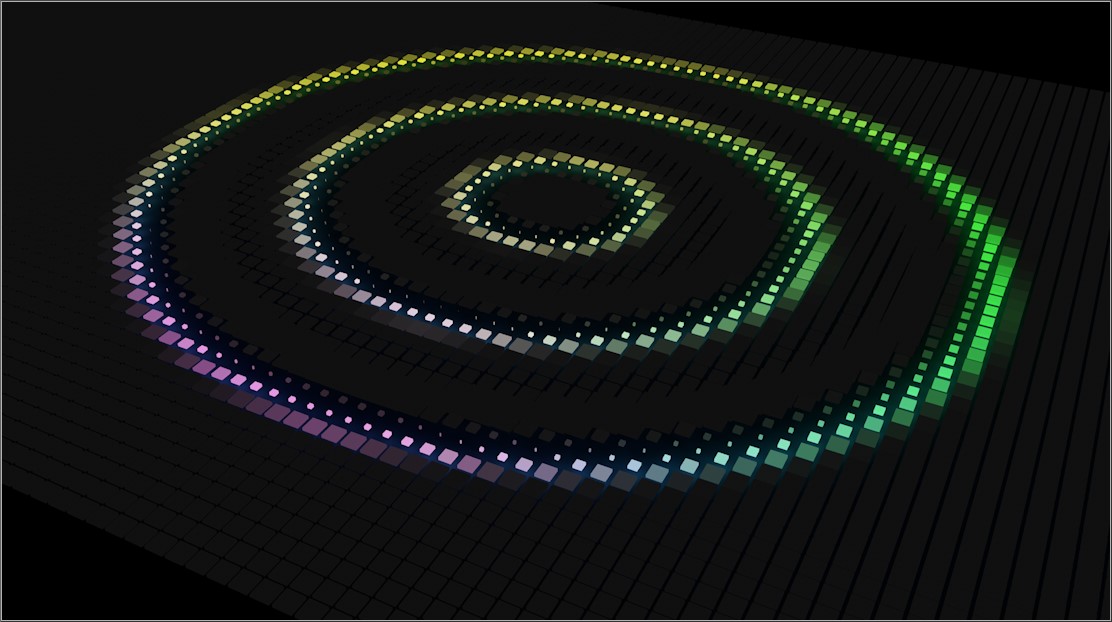
My final render, after a little post processing in After Effects. Some JaeTools Real Glow was added. Real Glow is no longer available, but there is a better replacement out there called Deep Glow
Depth of field was adjusted using Frishluft Lenscare as well.
After playing with the build a bit, I was able to see more potential with it to really make some neat Cinema4D Mograph designs. Using video to drive the tile movement made it easy to create very organic movement. Then manipulating the exposure of the video also helped in controling the tile interaction intensity. Effecting the Position, Scale, and Rotation also created some interesting looks.
Being that I am very technical minded, I had to build a more user friendly way to access a few key parameters. Like with a few previous tutorials, I have made a project file available. This Cinema4D template project file can be purchased at Gumroad using the button on the right.
The project file comes with a colorful sample animation clip to play with. These are some samples made with that project file.
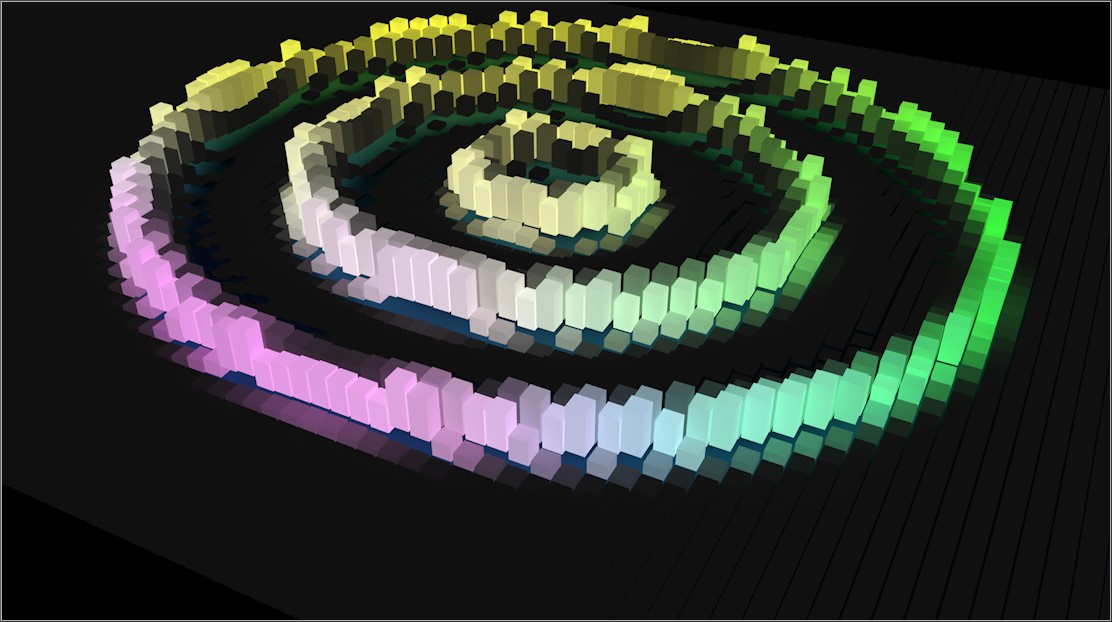
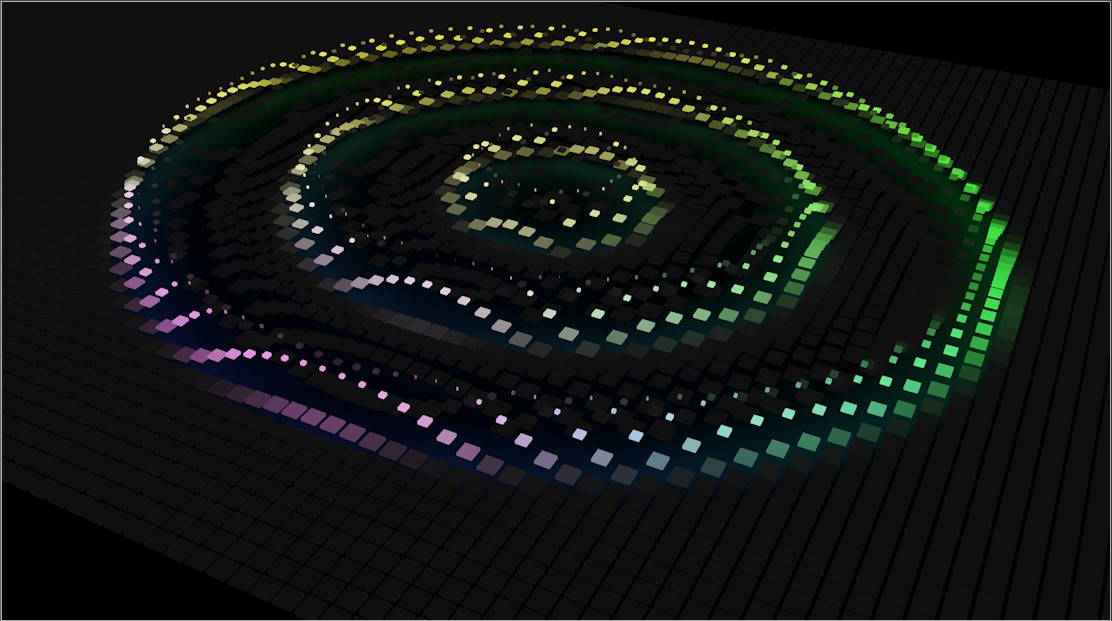
If you make something cool with this build, feel free to tag your social media posts with #c4dtilewall I would love to see what you all make with this.