January 31st 2017 08:00:15am
DISCLOSURE: I have no business affiliation with any of the companies mentioned nor am I being paid by any of them to write this article. I chose to write about this subject matter on my own due to a passion I have for the subject of Photogrammetry. I have done much research over the years on Photogrammetry and it’s great potential use in my Visual Effects work since 2012. The information here is provided as a general explanation of the process, and possible uses of Photogrammetry. I hope that you find it interesting and perhaps informative enough to try it for yourself, and encourage you to do your own research as well if pursuing this process. It is continually changing and becoming more accessible as technology progresses.

What is photogrammetry?:
What is this photogrammetry I speak of? Well for a more scientific type of explanation of what photogrammetry is, take a peak at the ISPRS site.
Some more resources are here as well:
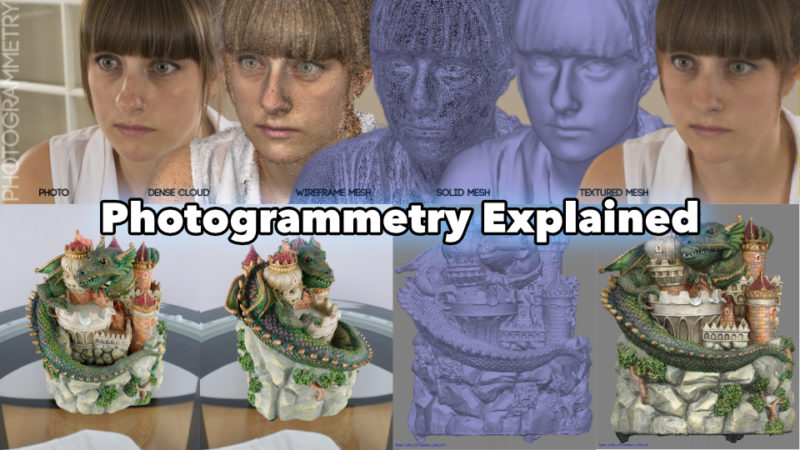
Usually when I explain what Photogrammetry is, I describe it as the process of converting 2D photographic images into a computer generated 3D model. 2D becomes 3D, basically magic. This magic happens via software, but you do need to feed the software the right kind of information for it to work properly. Like most processes, starting with a bad foundation will ultimately result in an unstable and potentially disastrous final product. While perhaps the roof won’t cave in on you from taking bad photos during the capture process, it can mean you’ve wasted a lot of time and money. Starting over from scratch being the only next solution.
There are also alternative ways to gather similar type of data using 3D scanners like the Artec, even using Microsoft Kinect, as well as a process using lasers called Lidar. I won’t be going into detail with those methods as I have little to no experience with them.
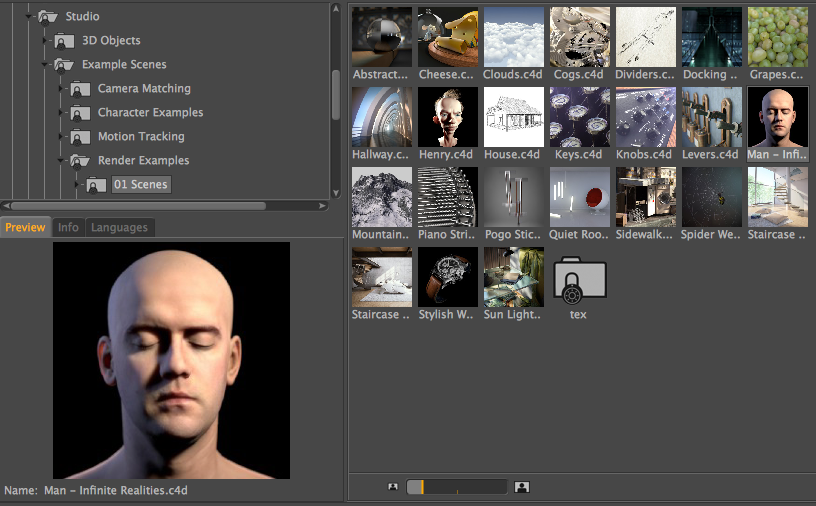
I first got hooked on the process when I initially saw Lee Perry-Smith’s Infinite Realities site around 2012. You might actually recognize Lee without even knowing it. He released a scan of his head that has been used all over the planet thousands of times. If you are a Cinema4D user you can even find the model in the Render Examples folder of the Content Browser.
I was immensely mesmerized by what he was creating. I had already been doing digital photography for over sixteen years at that point as a relaxing hobby and for texture capturing to use in my work. Now while Lee may not the inventor of Photogrammetry itself, he most certainly pioneered the human capturing process. He also continues to make new breakthroughs in that process. I personally find his work very inspiring, and it is what pushed me to find my own way in creating a capture setup for myself with the limited budget I had. Having camera equipment already from all those years of photography didn’t hurt either. I quickly found out the limitations of my equipment and the headaches resulting from that.
Photogrammetry most recently in the last six years or so has been getting more popular in consumer markets and with creatives, especially with the emergence of 3D printers. To most consumers though, the process may not have much appeal, but it’s resulting products usually do. The resulting data, once processed and cleaned up, can be used in 3D printing to create figurines of yourself or family members. It actually branched a whole new market for capturing people in a different way than just simple photos. That then lead to things like wedding cake toppers of the actual bride and groom. My wife and I actually considered this at one point for our wedding, but eventually chose a different route.
Photogrammetry has played a big hand in creating topographic mapping, preserving and studying archaeological finds, as well as architecture.
What uses are there for Visual Effects?:
How is photogrammetry helpful for VFX? Well there are a number of VFX uses both pre-production and post-production related. Capturing a potential filming location or built set can be very helpful in pre-visualizing (previz) for planning out action or layout of a scene. On the post side it most definitely can be used as an actual 3D background element in the compositing process, very helpful with matchmoving difficult scenes since it is can have relatively accurate scale data.
I’ve used them as HDRI sources to light a 3D scene, as well as a way to get an generic 360 chrome ball lighting pass after the fact. Motion graphics can easily benefit from it by using the 3D result as an element in the animation, or a source to emit animation from. The same goes if you capture a human instead of scenery, you can use that data for a digital stunt double, character based emission or interaction for dynamics based effects. It could also be used for crowd replication, and morphing effects of a character into something else.
How do I capture something?:
There are a number of ways to do photogrammetry captures, it all depends on your subject matter, production needs, and final use of the data. The basic premise is that you are gathering visual information in slices from numerous angles. Imagine a ball being placed on a copy machine.
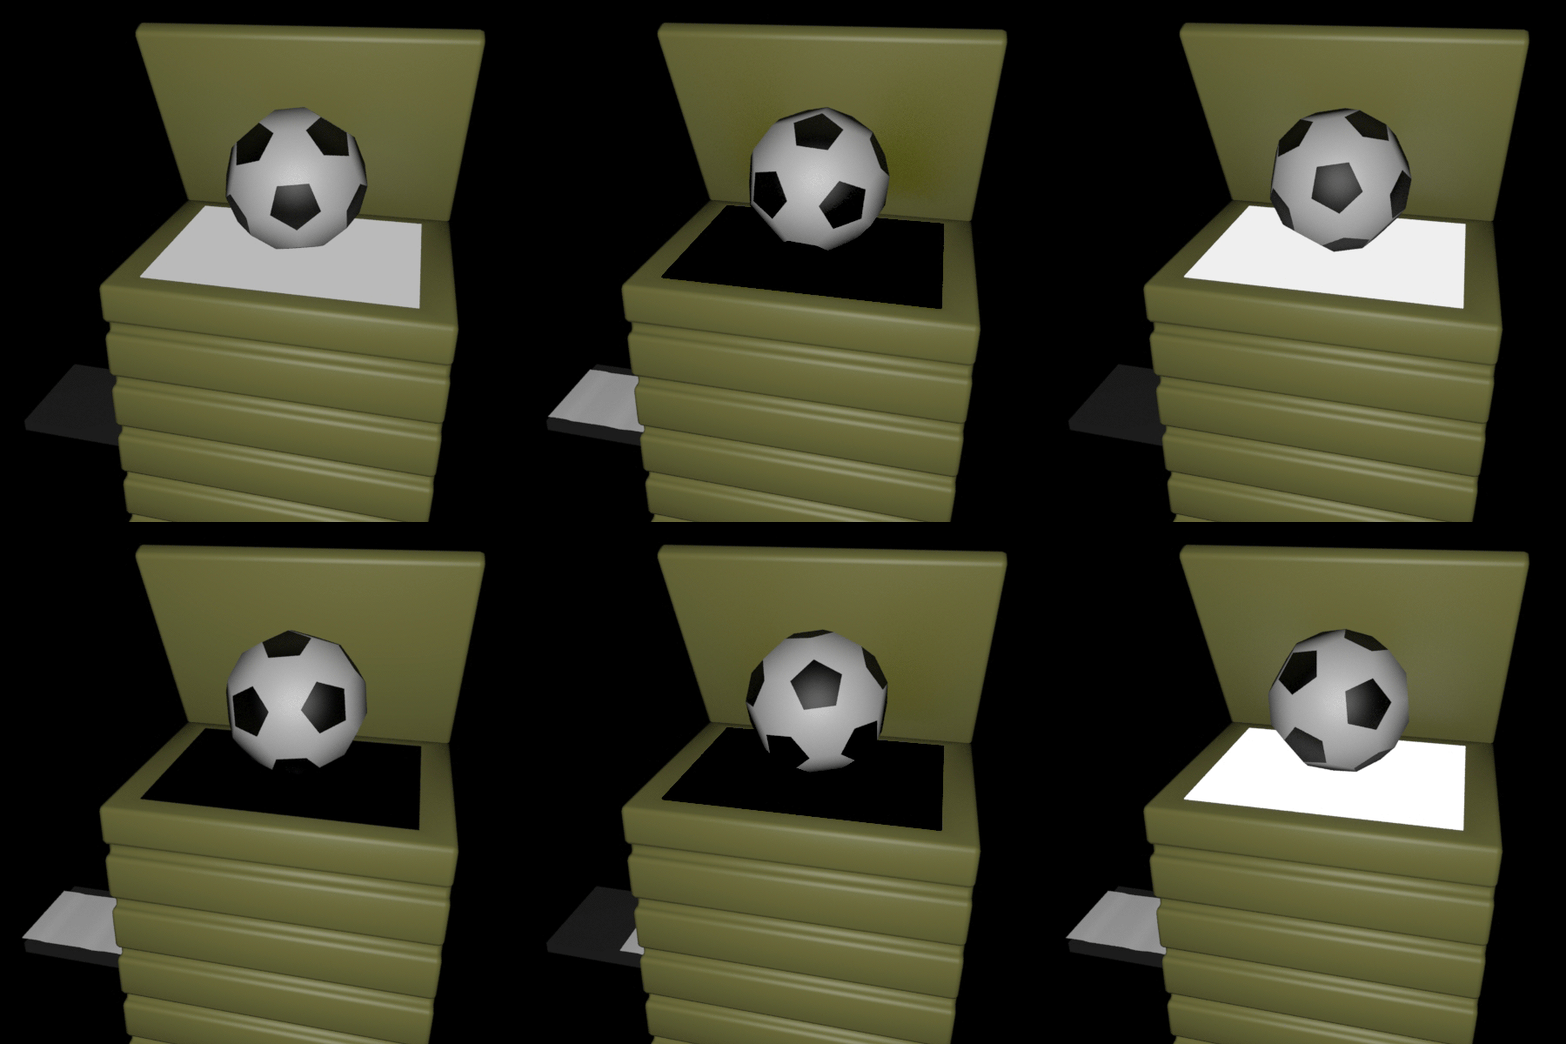
You can only get one segment of visual information at a time. To get the whole ball, you would have to rotate it a lot of times to copy every side of it. With photogrammetry capturing, the subject is stationary and you move around it snapping a photo for every segment. The more area you cover, the better. You also want to make sure you enough overlap between images. Making sure features on one image are seen in at least two other images will help. Each subject will of course present it’s own issues and force you to change up your process on the fly. Below are some graphics showing some typical subjects and the general approach concepts.
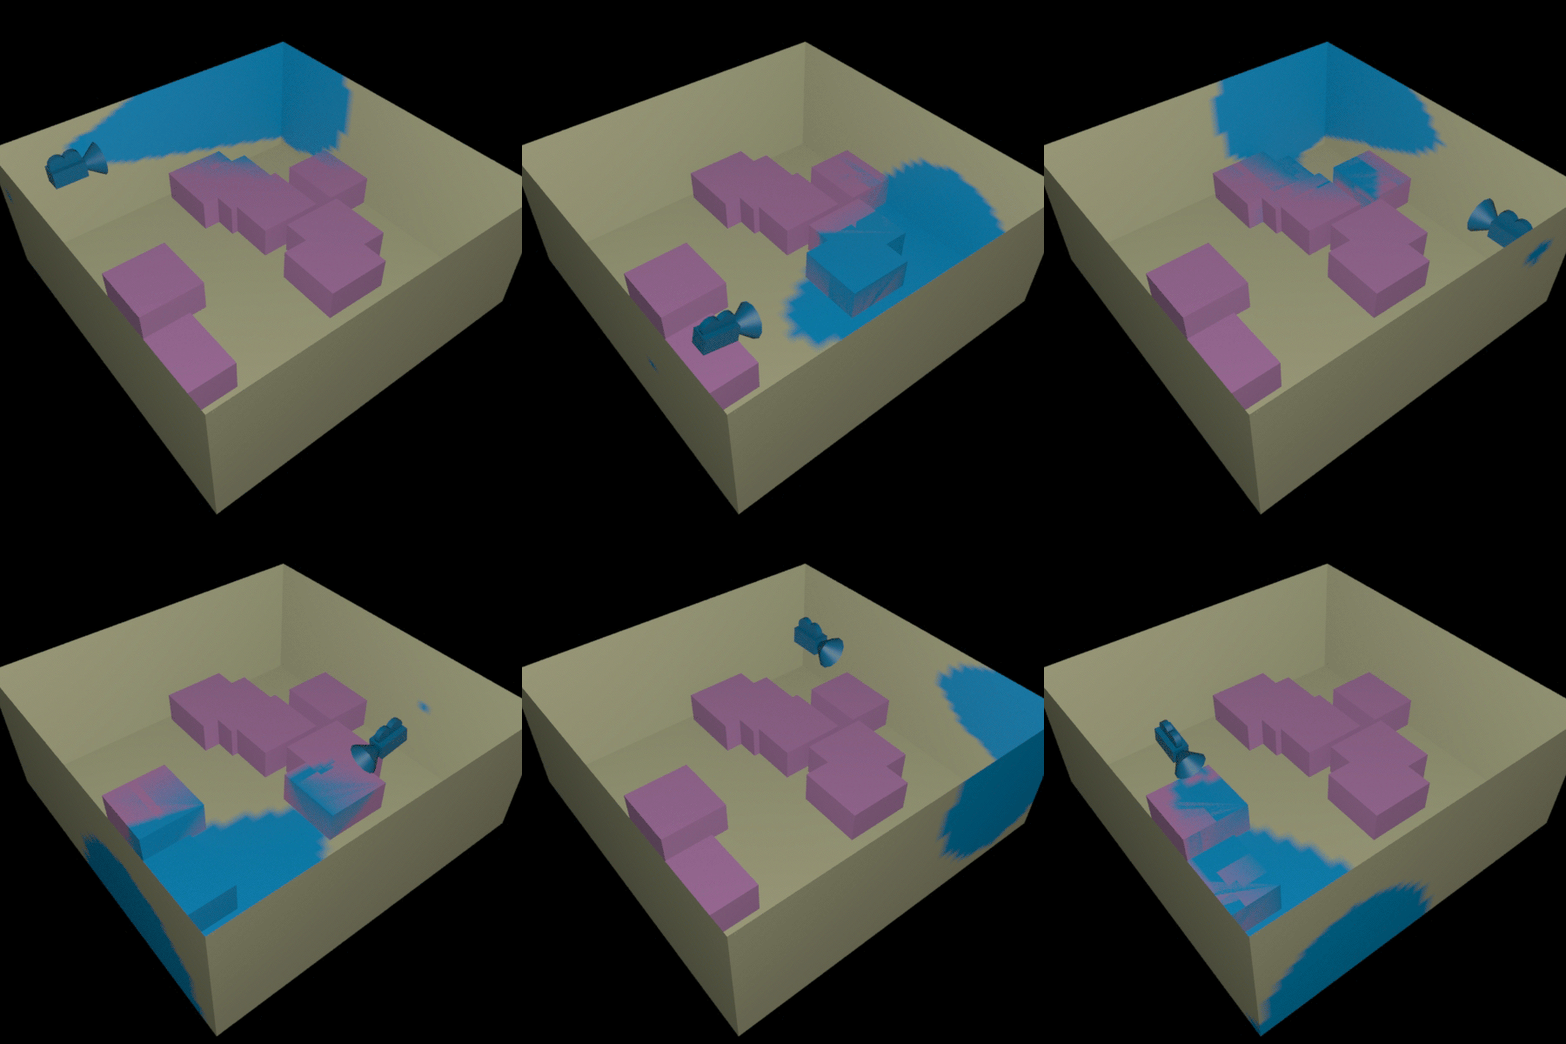
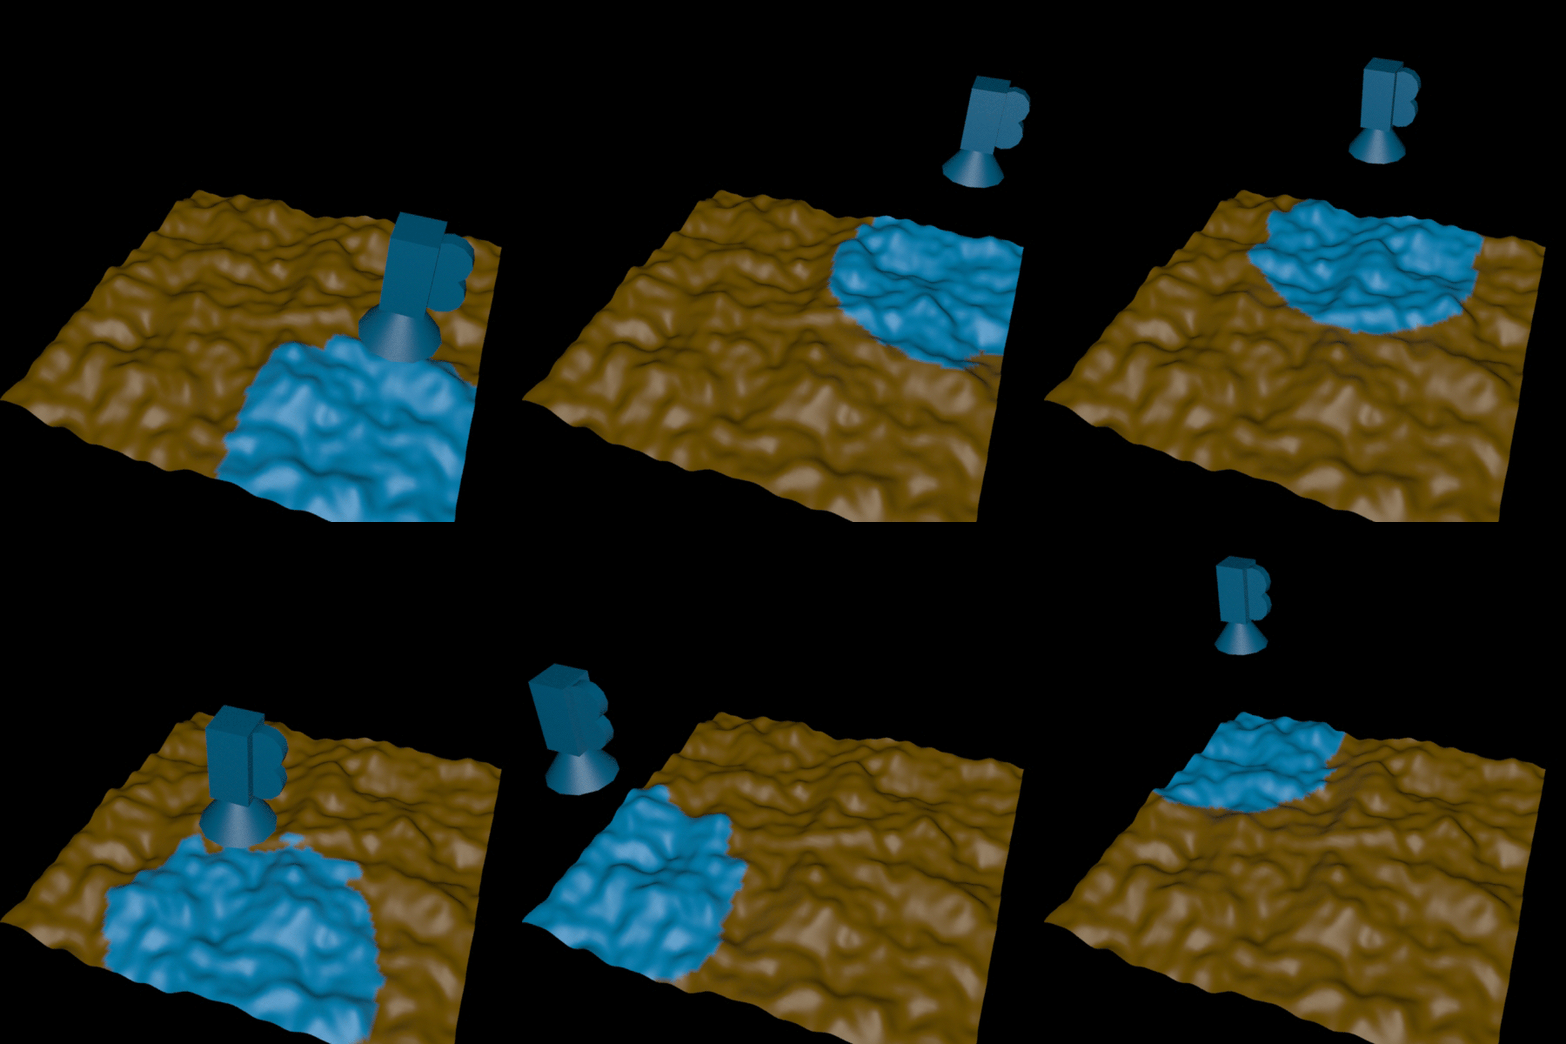
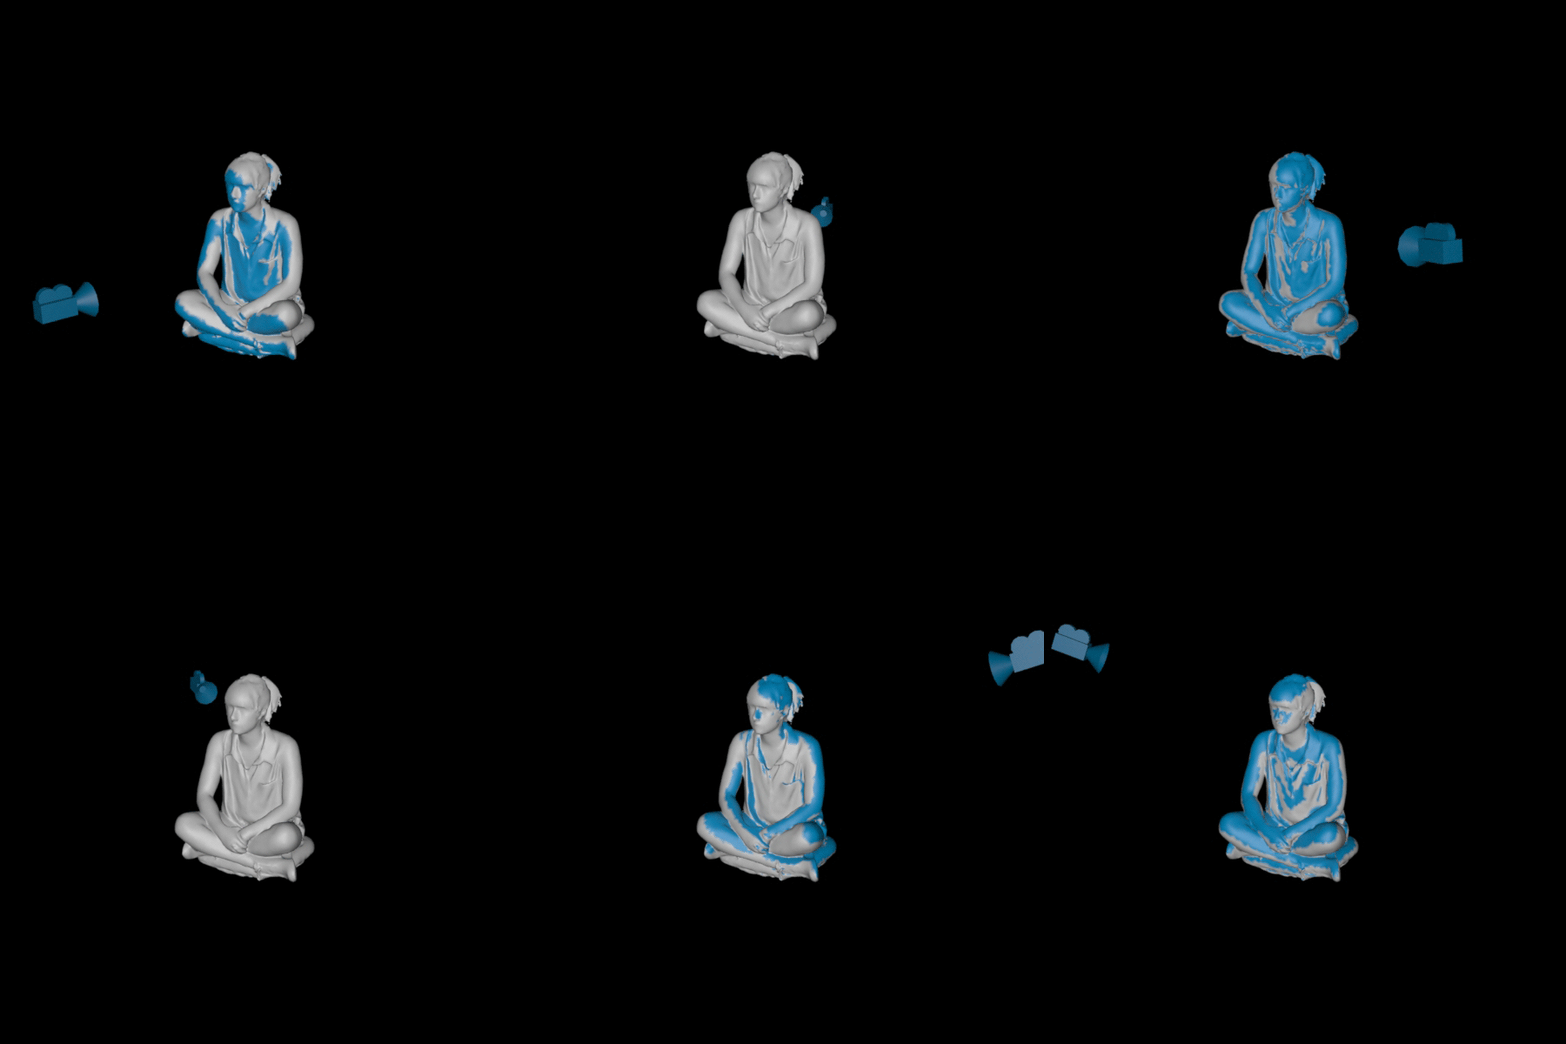
You can see from these graphics that there can be a lot of photos to take. Ideally you would like to capture all the photos at once to make life easy, but that’s just not always possible.
Landscape Mapping capture setups:
Landscape mapping captures can be done with whatever can get your camera high enough and able to travel the distance you want cover. There are some drones that can do this with ease. Some software can even help you plot out a course to capture.
A few other info and links to check out:
Room capture setups:
The approach for rooms can vary depending on how much clutter or open space there is, and how much detail you actually need. The general approach is to start at the corner of the room, assuming you are in a standard four wall room, and face the opposite wall. You’ll want to follow the perimeter of the room taking shots of the opposite wall. Side stepping after each set of shots. Think copy machine again. You have to take a series of image slices, and then go back for any of the detailed elements you need, like lamps, furniture, counters, pillows, etc…
One of my first Photogrammetry attempts was with my iPhone 5s and I was able to get this result. Not spectacular, but definitely a great start if I had to model the room by hand. It has the location of everything in the room and it’s to scale. I’d like to start with this rather than nothing.
Human capture setups:
Human capture by far has been the biggest hurdle and the most popular subject for Visual Effects. The majority of the capture systems out there for human talent are studio based. By this I mean that they will have a locked off area in their office reserved for the capture space. These studio setups can have anywhere from 40 – 150 DSLR cameras in their setup and are primarily setup for full body capture. You can see in these links, the incredibly large camera array setups for Infinite Realities and Ten 24.
The talent then poses in the center of that space and a master control system fires all of the cameras simultaneously. The cameras are all tethered to multiple computers to handle the large amount of image data being downloaded. With all the cameras firing in sync, your capture time only takes fractions of a second. This fast speed makes capturing multiple poses in a short time period a lot easier and also allows for moving action poses like jumping to be possible as well. Lots of soft light is usually required too to get good image exposures, and minimize shadows on the talent.
A smaller portable setup is possible using Raspberry Pi’s, but is limited in quality due to the smaller megapixel camera sensors. This Instructables post explains how. This one over at Pi 3D Scan is a bit more fancy with extra coverage.
Smaller rigs are definitely still useful and if you are just focusing on capturing only the face or head of a person, then less space is required. This early test I had done, was with one camera and only 17 photos.
Alternative setups include using a turntable that your talent stands on, like this one over at Thingiverse. You get to use less cameras, somewhere between one to four, but there are mixed feelings about this approach. Some have had success, others not so much. Your capture time goes way up and your talent has to play statue the entire time, and not get dizzy from spinning. If they shake, or slightly shift any part of their body, including their clothing swaying, it will make for a bad capture and cause major headaches in post when solving the data to create a 3D model. In some cases, the solve completely fails, and requires another new capture session or an extremely skilled ZBrush sculpting artist to fix it.
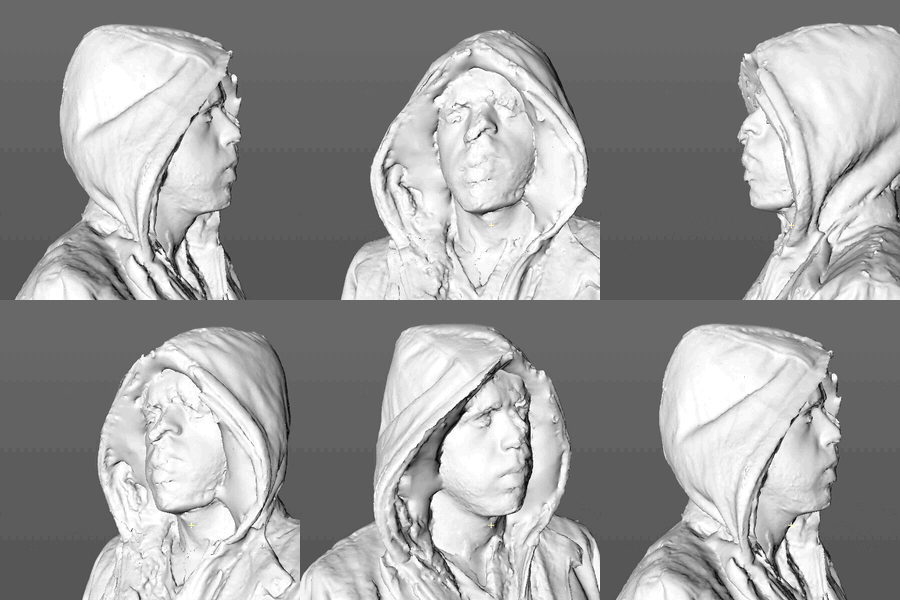
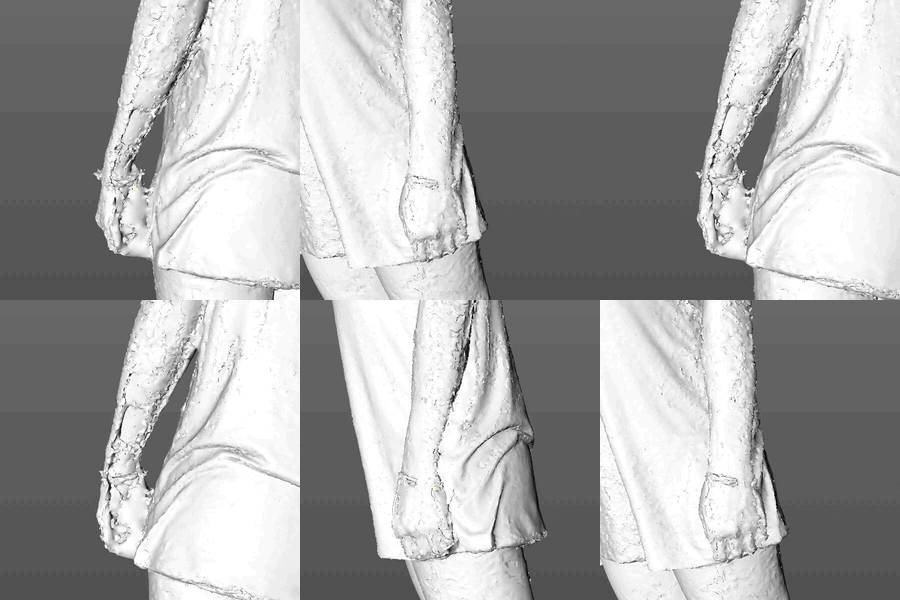
If however you are capturing an object or product, then a turntable makes total sense. I did this capture recently for my cousin’s wife. She’s a sculptor and was selling these zombie ornaments last year. The scan came out really well with just using a two camera setup and a simple lazy susan condiment tray as my turntable. Adding a simple circular chart marking every 11 degrees or so for reference helped to space out my shots evenly. I explain more in this next video.
Another object capture using a turntable approach.
There is also the infamous single camera capture setup. The same result scenarios apply here as well just like the turntable. It is possible, but the success rate is very unstable. I know this particular one from personal experience. The capture time also extends to a length of about six to eight minutes instead of just fractions of a second. This is a crazy long time to have someone stand still and not take a break. You might be able to cut that time down a little if you can move fast enough with the camera around your talent. Warning too, going faster tends to be difficult when using photography flash strobes, since they need a slight recharge after each shot. You can also throw your talent into a seizure if they are epileptic, so be careful about that. If you capture the average 80-150 photos needed, that’s gonna be a lot of flashing the talent has to withstand. Special thanks to Brandon Parvini and Rachael Joyce for being so patient when I did these captures.
The amount of variables that can effect the process is quite large, more so when using less cameras. A lot of this process is trial and error, and can be tedious at times.
Any matchmovers out there, will have some relatable knowledge already in how to prime a space, because a lot of the same issues for motion tracking apply to photogrammetry as well. They are both image based processes, and are highly dependent on consistent matching pixel information. Details MUST be consistent and able to be found in at least three other images. So for example, you have a glass bottle on a nice wood grain table you want to capture/track…. ok yes this is a ridiculous scenario, but it helps explain the point better. …ok so glass bottle, you spend the time capturing this bottle and you have 120 images.
You’ve got your bases covered, every possible angle. The images are sharp and fully in focus, but the software gives you nothing, but the wood table and a ton of random floating blobs in the air. No 3D bottle. Why? Lack of consistent matching information, that’s why. Glass refracts and distorts the view of anything behind it from the camera’s viewpoint.
This pixel information changes at every possible angle you can think of, therefore the software has no consistent matching information to extrapolate a three-dimensional location for that point. The same goes for reflective surfaces like mirrors, and laquer. They also alter the actual surface information by introducing data from the surrounding area. So it’s the subtle details that people don’t think about like this that can make or break your final product.
Photographers too have relatable knowledge that can help too. Reflections can be minimized/removed with circular polarizers, shutter speeds can be set to help remove motion blur. DOF (depth of field) can be widened with aperture settings to keep more of the subject nice and sharp, and softbox strobes can help even lighting and minimize dark shadowed areas. If you are only wanting the shape of the object and are not worried about the visual appearance. You can use baby powder or a paint of some kind to create a texture that will work. A good tutorial of this is on Ten24’s 3d Scan Store site.
Photogrammetry software solutions?:
So the processing part of Photogrammetry can be time consuming, way more so if you have a slow computer. More GPU and CPU power comes in very handy.
These are some of the more common softwares that can process your image data:
There is even some Python based Photogrammetry solutions too:
I hope this was an informative article for you and it at the very least helped shed some light on the subject of Photogrammetry.