April 11th 2016 08:00:40am
Updated 4/23/2020: Script has been updated to v2.0
UPDATE 4/19/16: There seemed to be a bit of confusion as to what I meant about using High Pass for motion tracking, so I put together this overview explaining in more detail about the process. Hopefully this video will help eliminate any miscommunication on my part. Link to the sample footage I used in the example can be found here Hollywood Camera Work
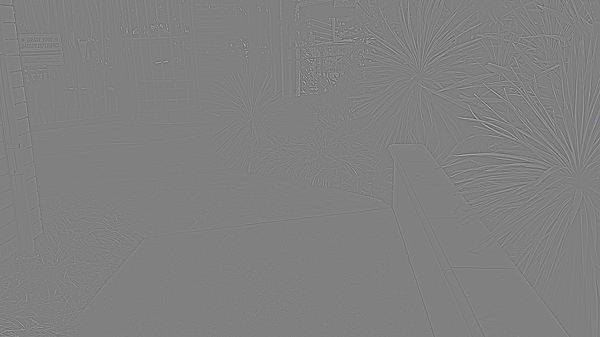
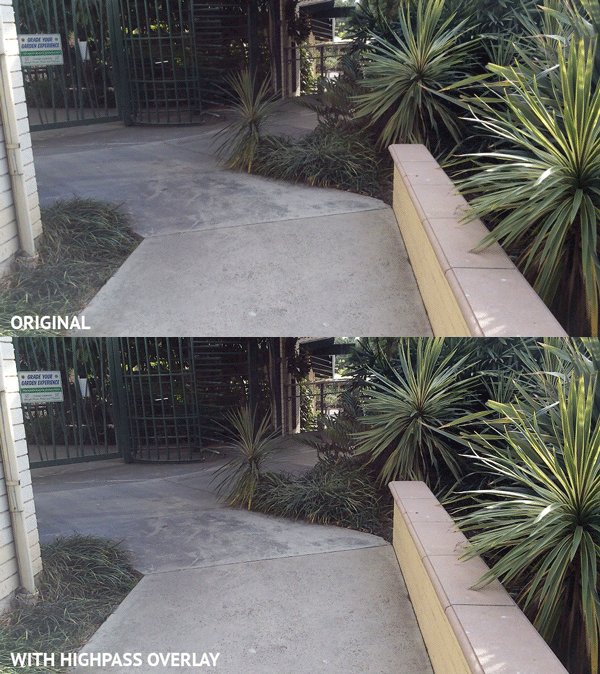
When most people in post-production hear the word High Pass filter, they immediately think of the Photoshop filter plugin, or the process that helps sharpen images or video footage after the fact. Others may think motion tracking. Wait, motion tracking? Why? What? We’ll get back to that in a moment. For those unfamiliar, a High Pass filter will alter an image into this neutral grey tone with edge details peaking into the black or white range.

This image is then set to Overlay mode on top of a duplicate of the source footage. With some refining, you can effectively sharpen the details in your source media.

It definitely comes in handy quite often for soft focus videos, but when it relates to motion tracking, your first thought might be “Oh, a sharper source means better track”. While that can certainly be true, I am more referring to the High Pass filter being used in a way that brings out hidden details within a piece of footage, therefore turning them into higher contrasting pixels. If you’ve done any motion tracking, you’ll know that high contrast is a great thing to have for a tracking point.

This of course has limits within a fluctuating range, and pushing the look too far will just make things look like a very badly black and white photocopy, and not really help at all. When used just right however, it can save you from failed solve after failed solve. This holds true more for 3D tracking, where precision is key to getting a solid camera or object solve. This technique can also save your butt when you are given footage of a green screen that didn’t have any trackers put on it. Every nick, scuff, smudge, and seam will be your best friends at that point.
I know from personal experience that SynthEyes has a High Pass option built natively into the application, which is very handy, and I almost use this option exclusively when tracking. I can’t really speak to the other trackers out there since I don’t use them often or at all, but there are many available. Just to name a few… After Effects, Mocha Pro, Cinema4D, fayIN, The Foundry CAMERATRACKER, NukeX CameraTracker, Autodesk MatchMover, PFTrack, Boujou, and 3DEqualizer.
Of those I do know, After Effects does not have a stock High Pass filter. However, there is a process of which the credit goes to Maltaannon for the original technique. He made a video tutorial back in 2008 on how to replicate the filter in After Effects by a layer blending mode and the use of stock plugins. You can still download his video tutorial, if you have a Flash player (that is).
A few years after he made the video I came across it when needing a High Pass filter for some tracking I was doing in After Effects. I eventually needed to use the technique so often that I got tired of making the look manually. I just ended up coding a script to do it for me. I added a control layer for the plugins and labeled everything to make it easy to work with. I’ve been using this script ever since, and recently decided to finally share it with everyone, for free. Not only is it free, but it is also open source, which means that you will be able to view every line of code that makes it work.
To install the script you just need to place the jsx file into your Scripts folder. Running the script can be done by clicking the “File”, “Scripts” menu, then choose Highpass.jsx from the list. If you have ft-Toolbar KBar you can just make it a simple button click to apply it to footage, or you can also assign the script to a shortcut key too by changing the Shortcuts document for After Effects. You can see this video for instructions on how to make the shortcut key here. Just fast forward to the 8:12 mark in the video.
Script install locations:
On Mac:
HD/Applications/Adobe After Effects <version>/Scripts/
On Windows:
C:Program Files\Adobe\Adobe After Effects <version>\Support\FilesScripts