June 11th 2018 08:00:57am
Just a heads up that this article spans 3 parts.
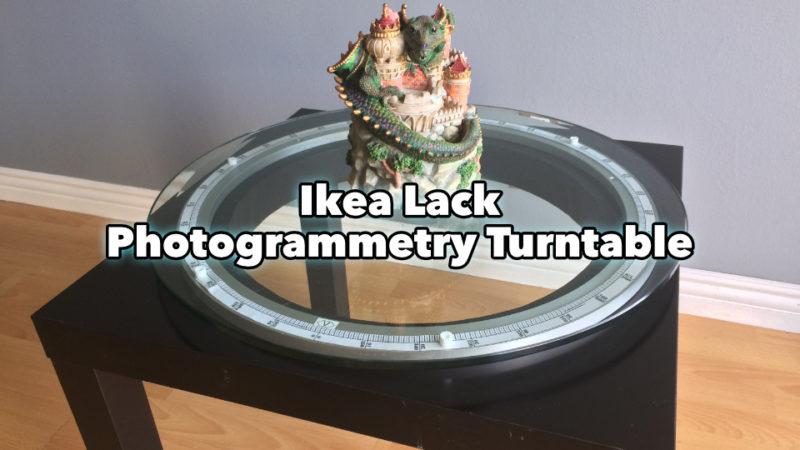
Photogrammetry and Ikea don’t normally go in the same sentence, but I decided to take on that Ikea hack challenge.
Today I show you how I changed an old Ikea Lack Table I had into a photogrammetry capture turntable. If you know me, you’ll know that I’ve been into photogrammetry capturing for quite some time. For an explanation of what photogrammetry is check out my post Photogrammetry explained.
DIY can be fun most times, and this project was no exception. It was nice getting the hands dirty for a change instead of typing on a keyboard in front of a monitor. Which of course I am doing write now. This project was not 100% DIY as I had bought two items to make it the way I wanted, but the table part was definitely a full DIY mentallity.
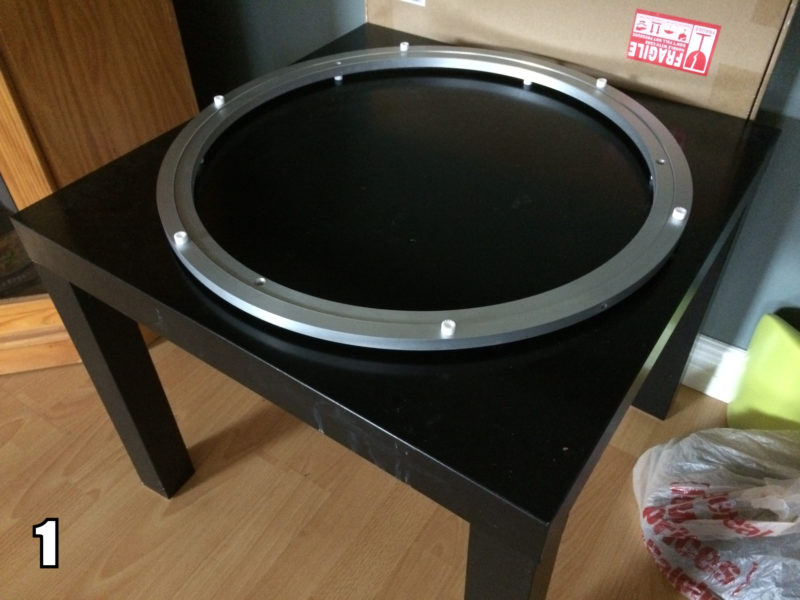
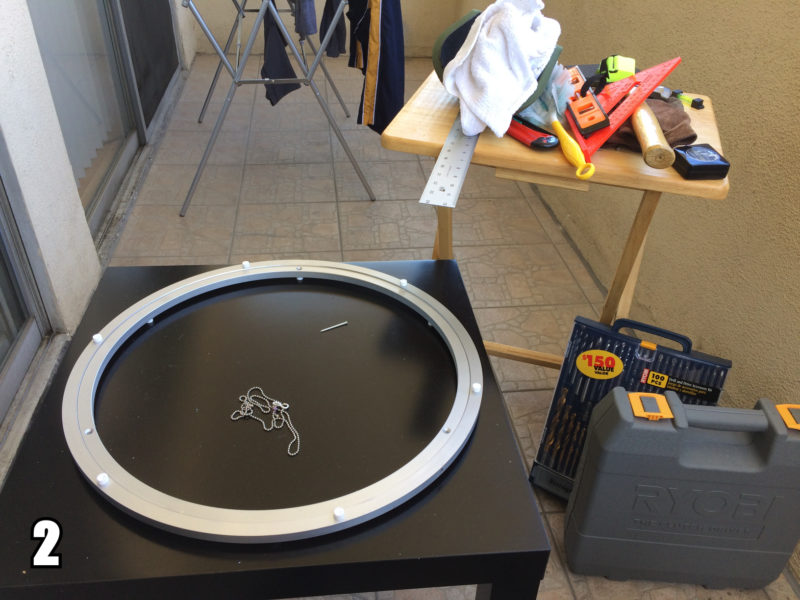

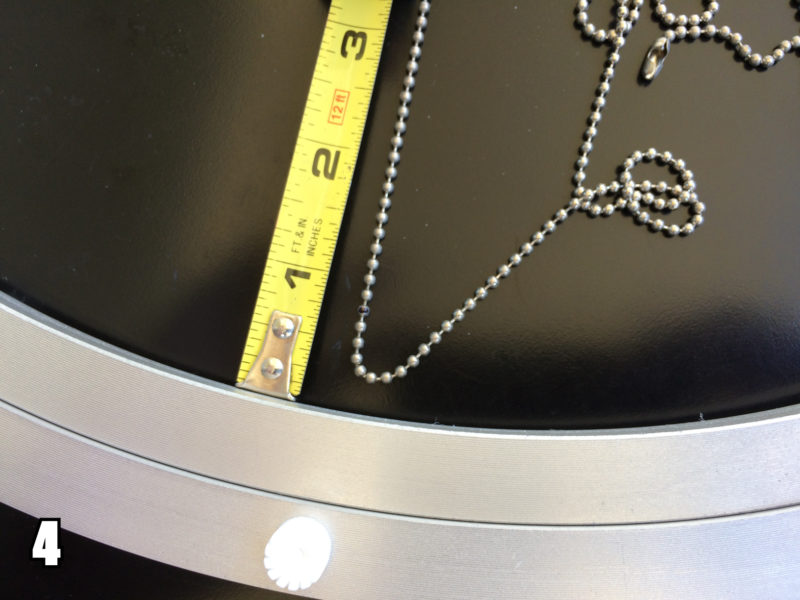
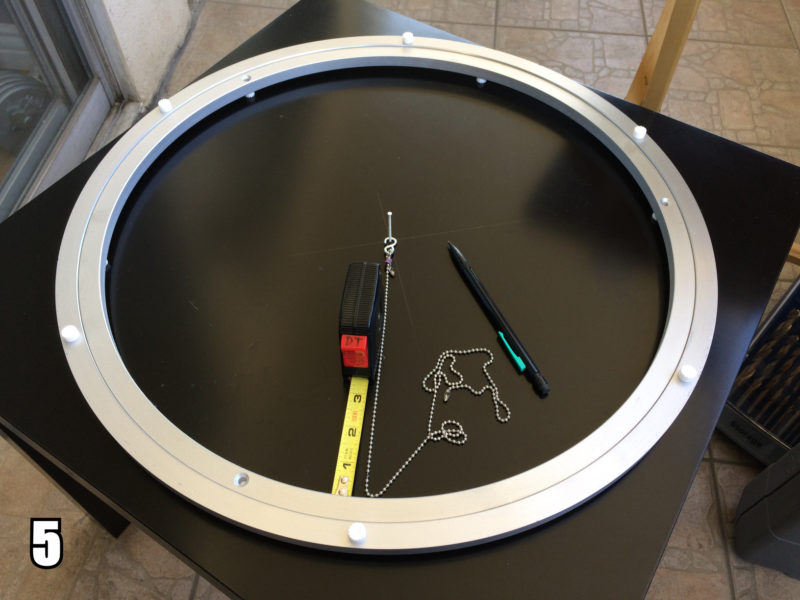
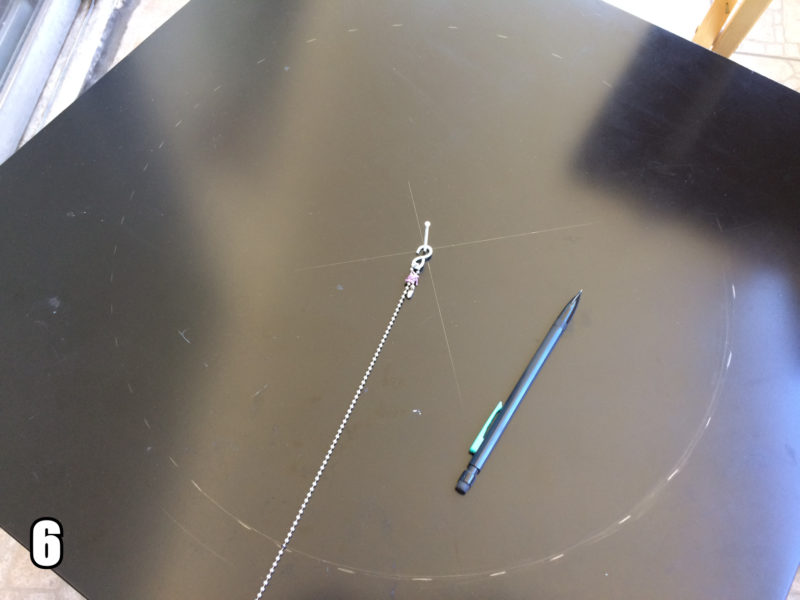
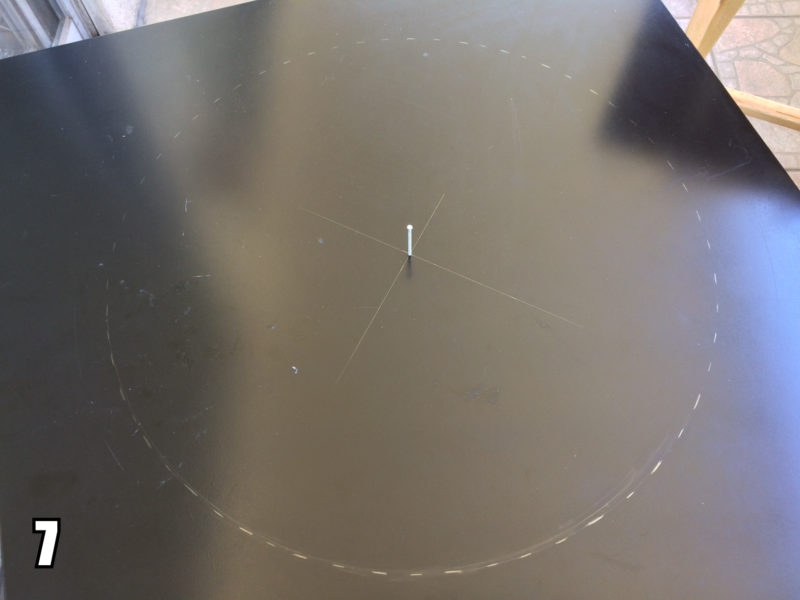
This project taught me that I didn’t have the right tools available to do this project easily. I did however tap into my inner MacGyver along the way. My first task was to draft out the circular opening I needed to cut. For this I used an old chain with an “S” hook. I next hammered a nail into the center of the table, then attached the “S” hook. This allowed me to draw a circular guideline for the opening. The guideline was about 3/4″ smaller than the TamBee Lazy Susan inner dimensions. [Imgs 2-7]
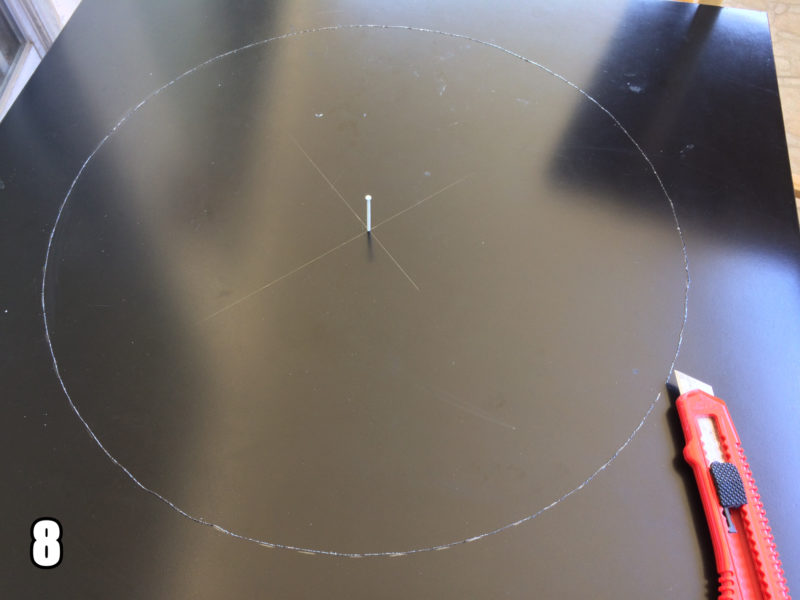
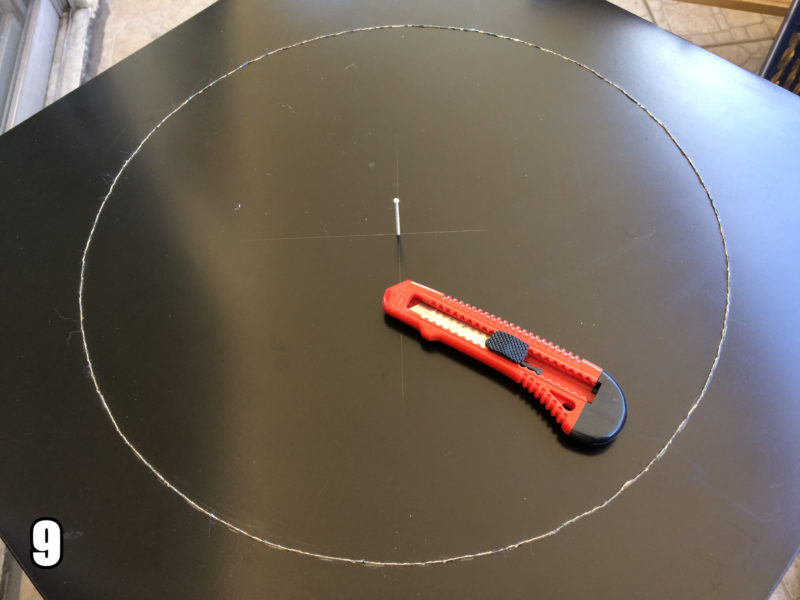
After drawing the guide, the next step was cutting though the table top. I had read online in a few spots about the table being thin pressboard, and thought I could just use a utility knife.[Imgs 8-9]
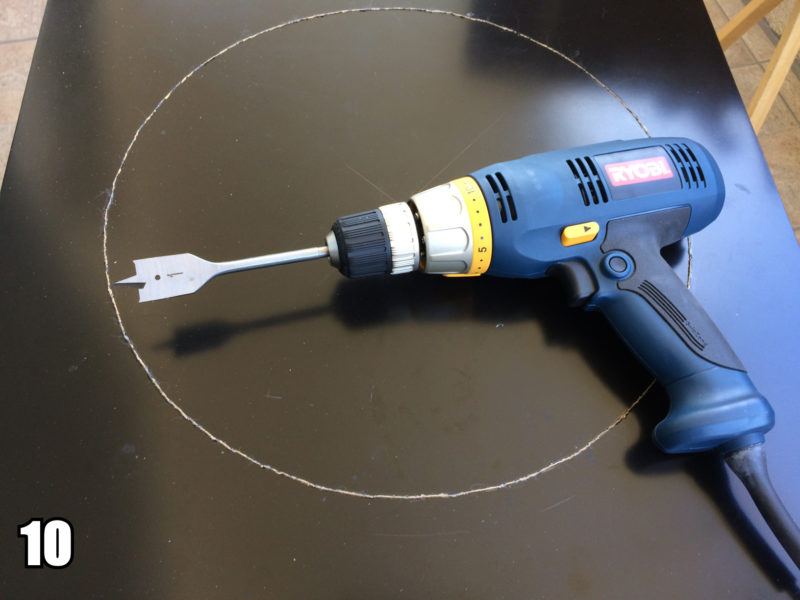
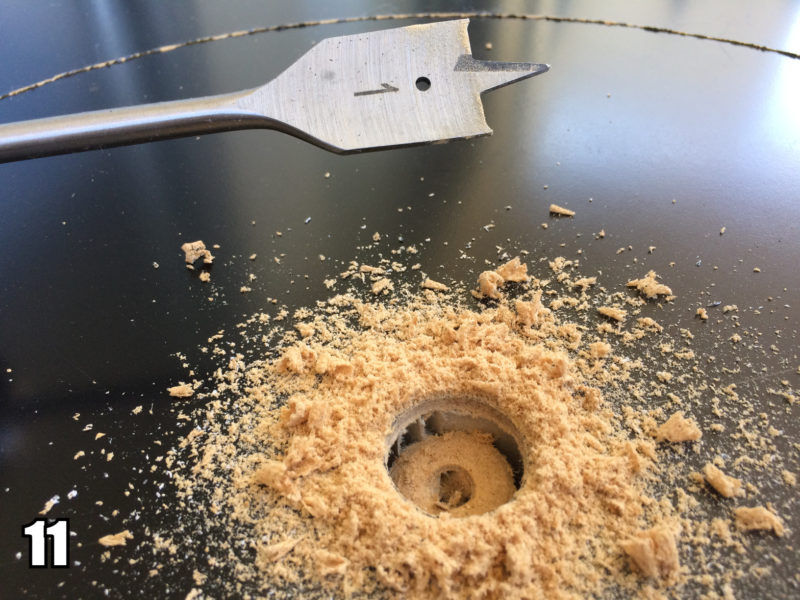
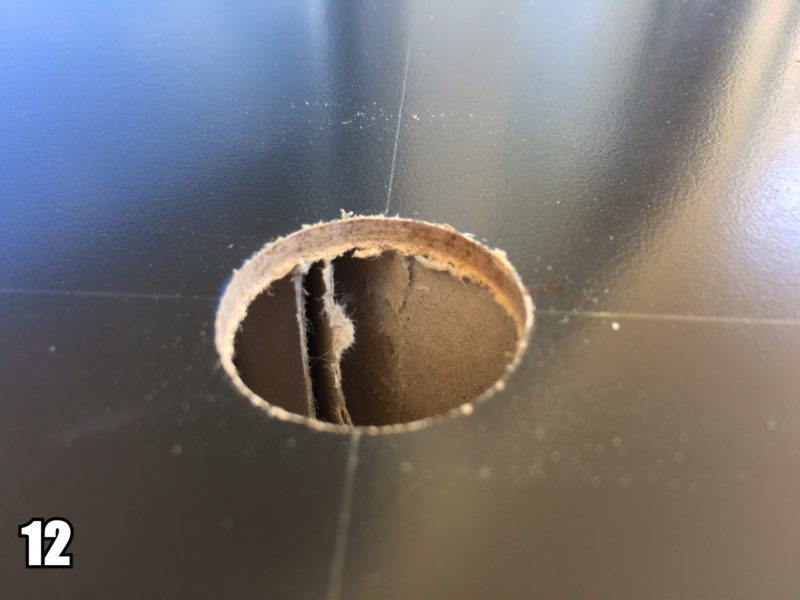
After eight passes, I gave up and decided to drill a hole in the middle to inspect further. I quickly realized that a utility knife wasn’t gonna work. The table top was at least 1/4″ thick and I had barely carved a groove in it.[Imgs 10-12]
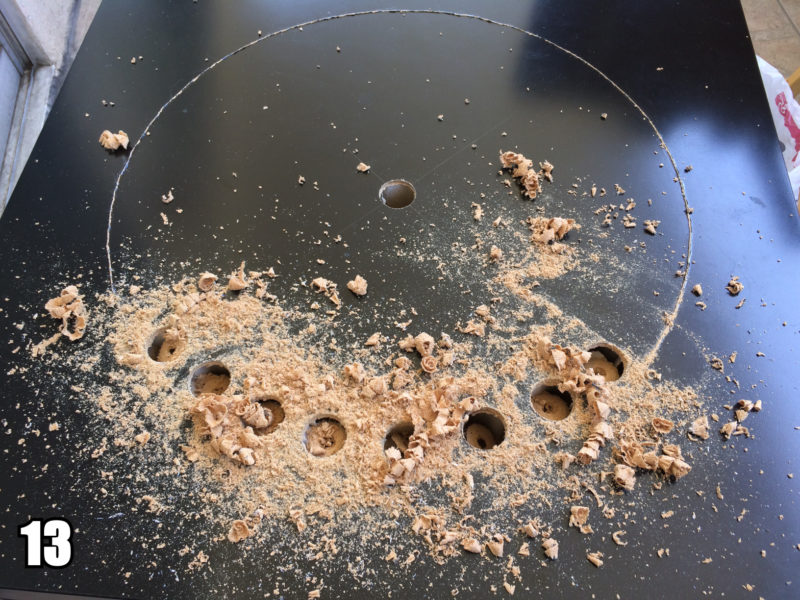
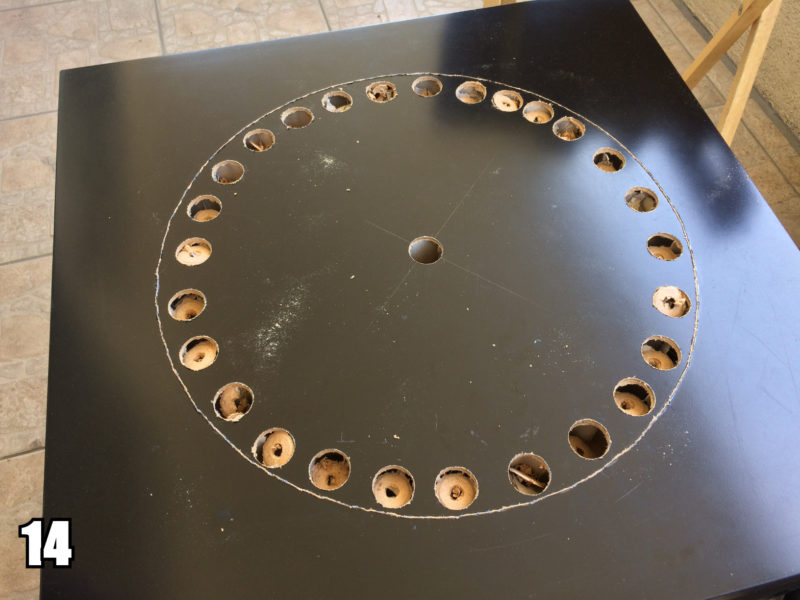
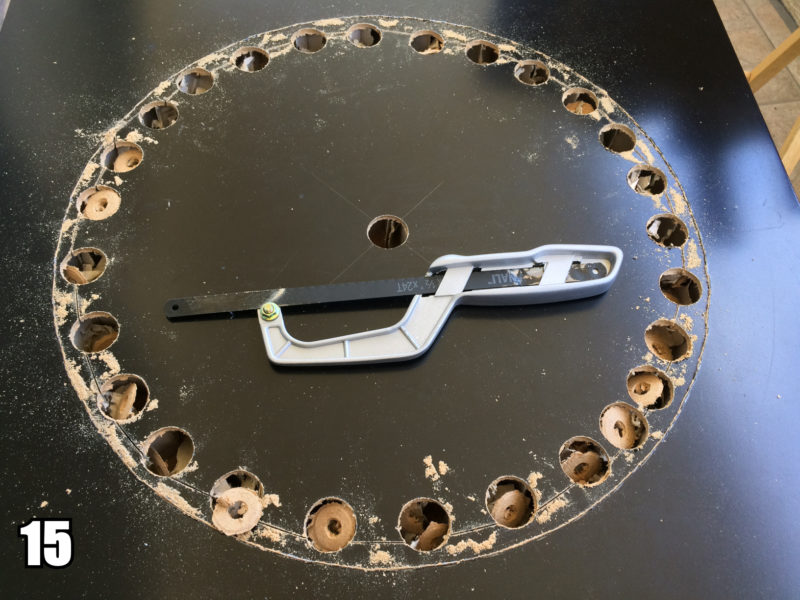
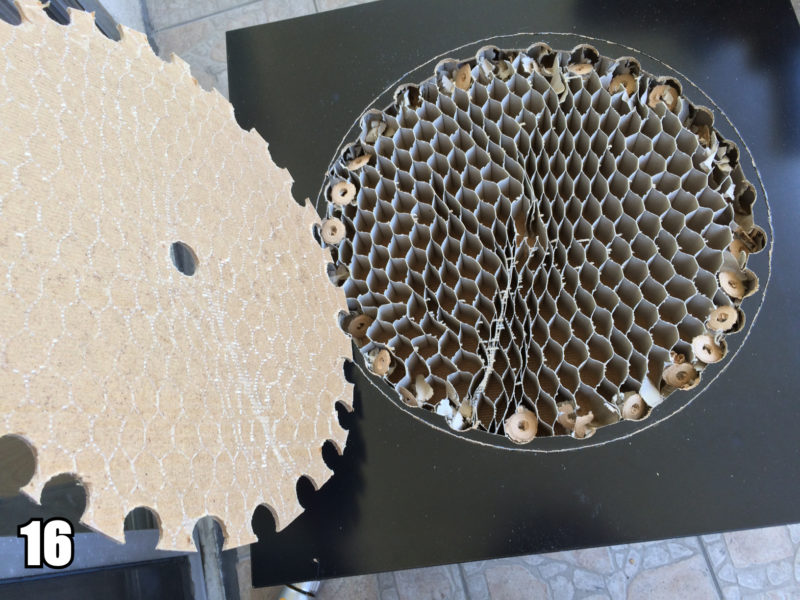
Using my 1″ hole cutting bit to drill a series of holes just inside the guidelines was the only logical next step. After that I was able to use a handheld hacksaw to slice through the gaps connecting the holes. Once the gaps were cut, I had to tug a bit on the inner piece to pry it out. Turns out the interior of the table has this honeycomb’esque cardboard support structure that is glued to the top and bottom surfaces. [Imgs 13-16]
Continue to Ikea Lack Photogrammetry Turntable Part 2