
June 11th 2018 08:30:57am
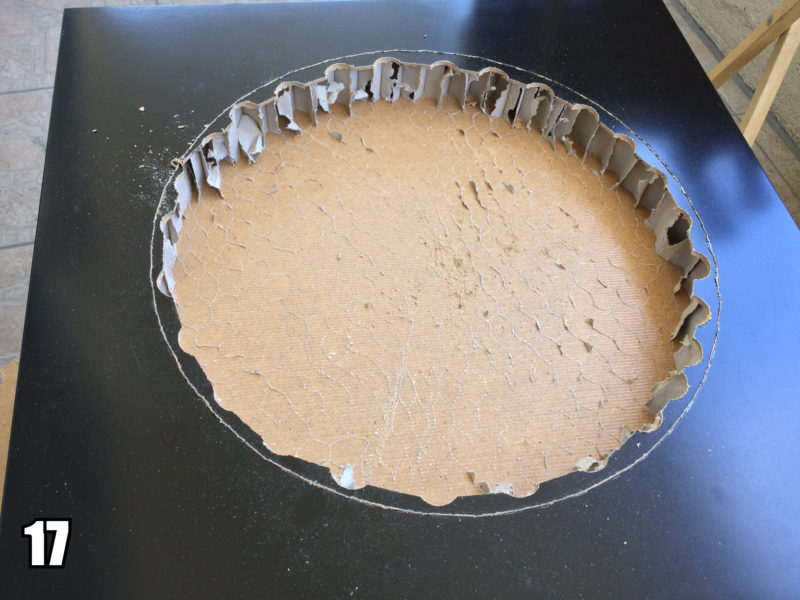
Slicing through the inner structure was much easier. This material was made of thin cardboard, so I was able to rip it easily. After cutting some clean areas along the edges, I then just grabbed at the materials with my hands and plucked it out. [Img 17]
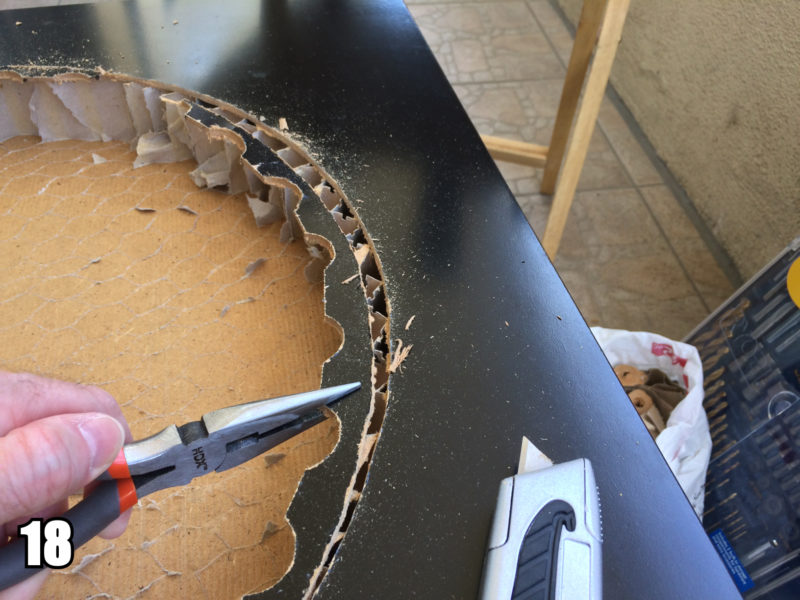
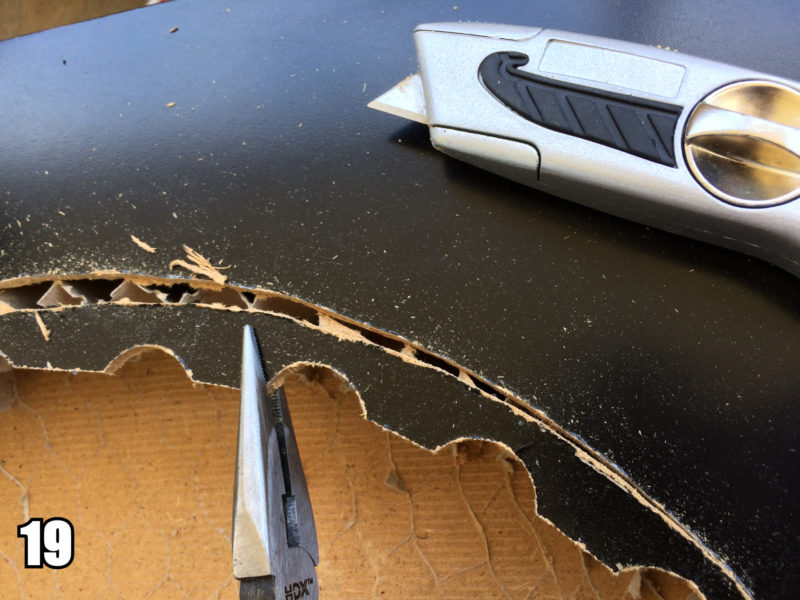
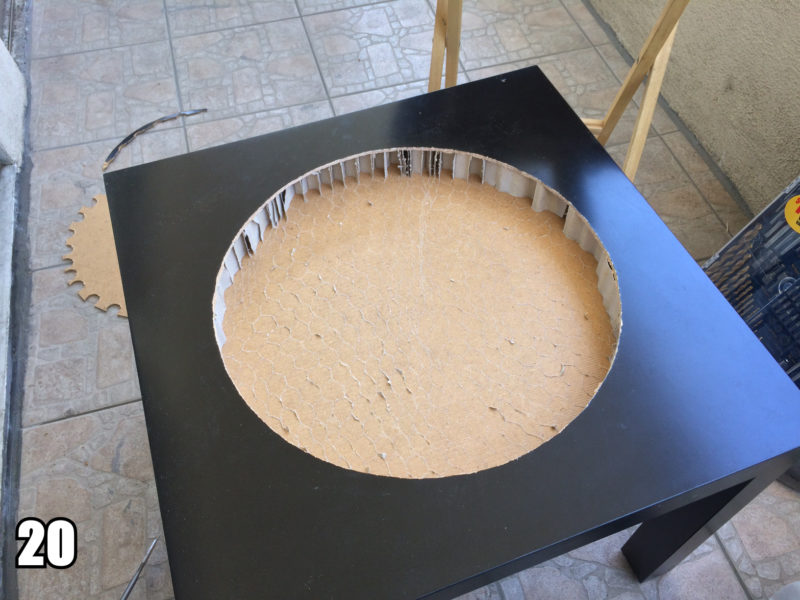
The remaining rough edge was then easier to cut away at with a utility knife. Using a pair of pliers helped pull the material free as I cut it. It was more of a scoring and snapping method actually. [Ims 18-20]
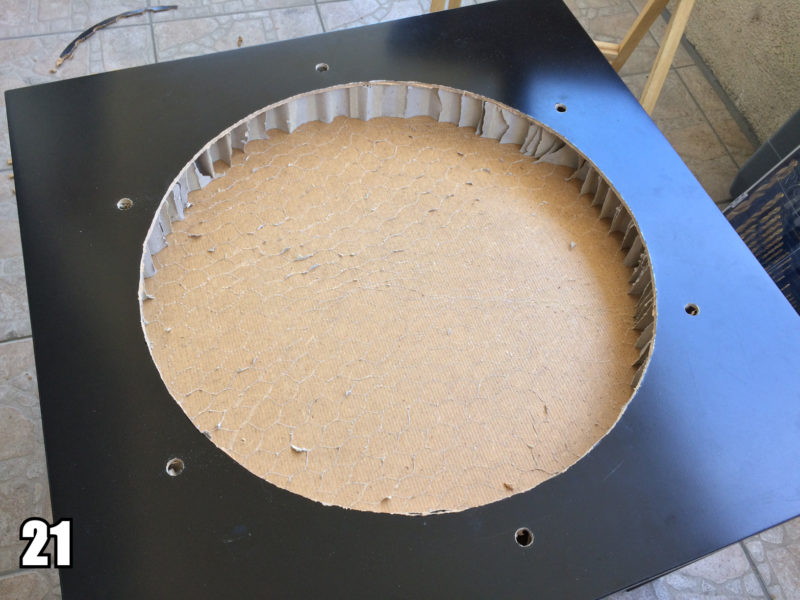
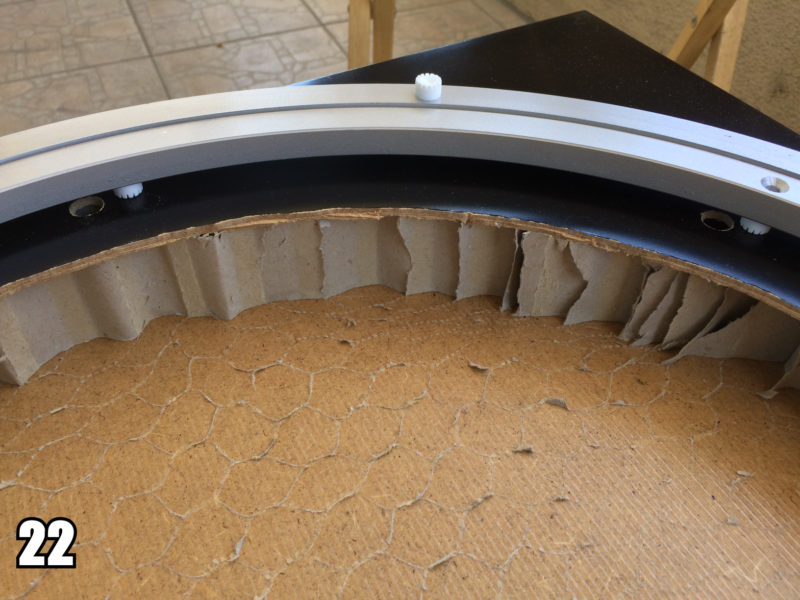
At this point it felt natural to just drill some pilot holes in the top for the lazy suzan pegs to slip into. This was a much easier task, and a nice break from all the cutting. Having these holes would allow the lazy suzan to sit nearly flush with the table surface, and lock it into place. [Imgs 21-22]
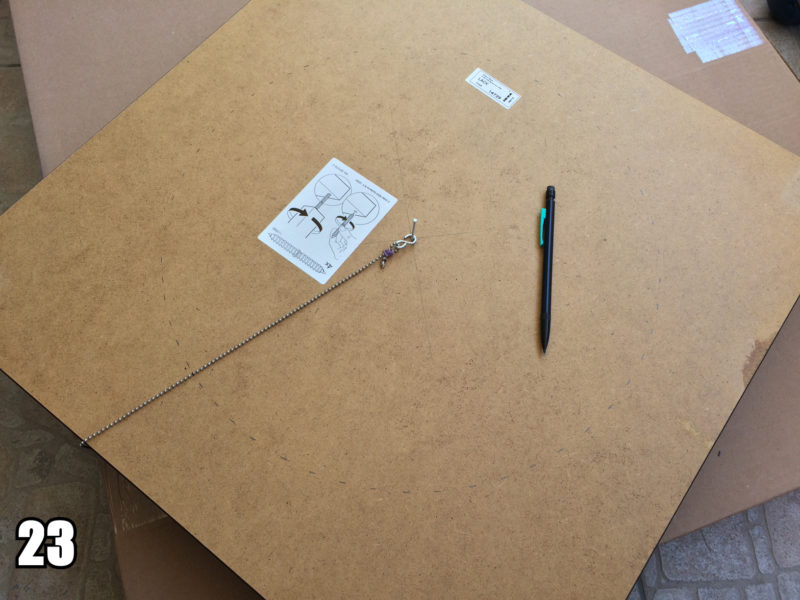
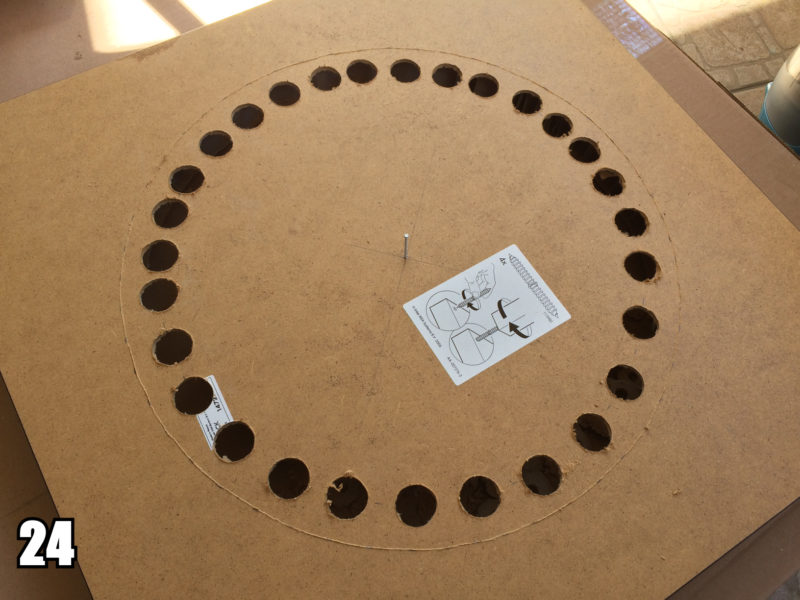
It was time to flip the table over and repeat the process on the bottom half. The legs of the table just unscrew. Working the bottom was bit more awkward since it was not sitting two feet lower than before. [Imgs 23-24]
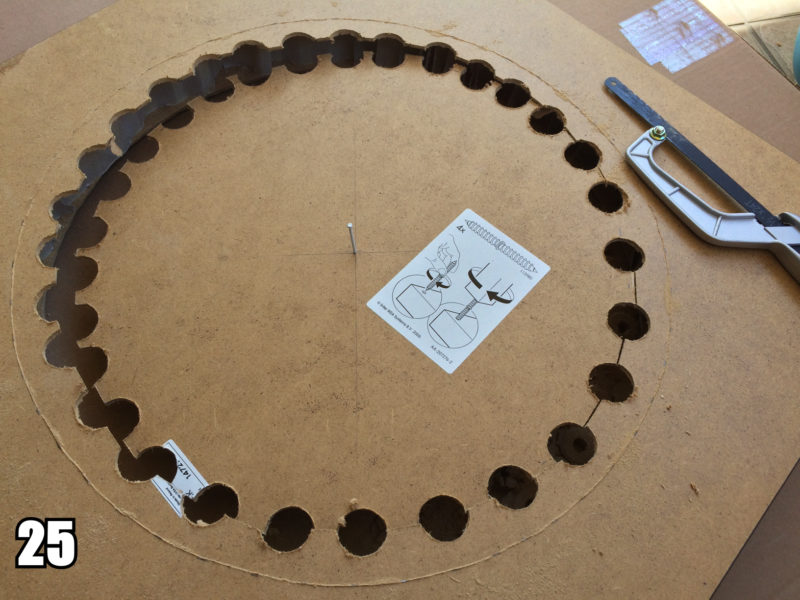
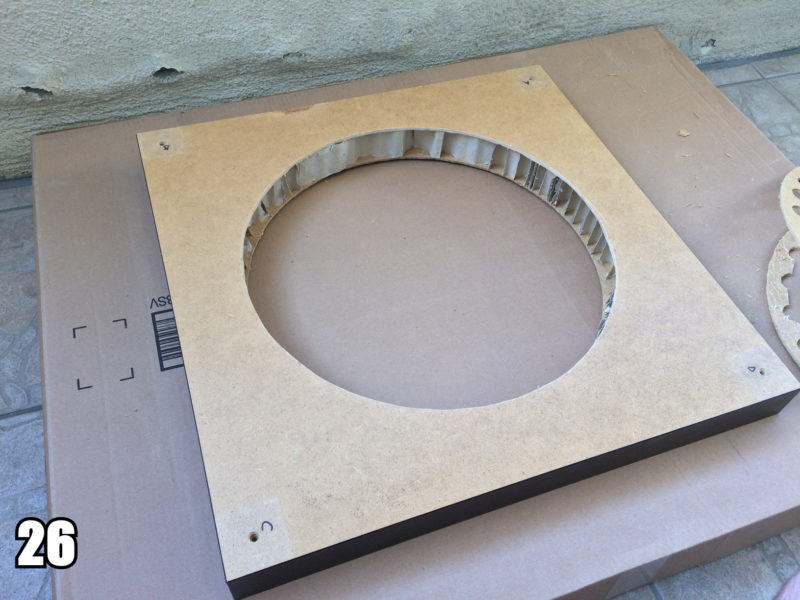
Finally the bottom half was complete. [Imgs 25-26]
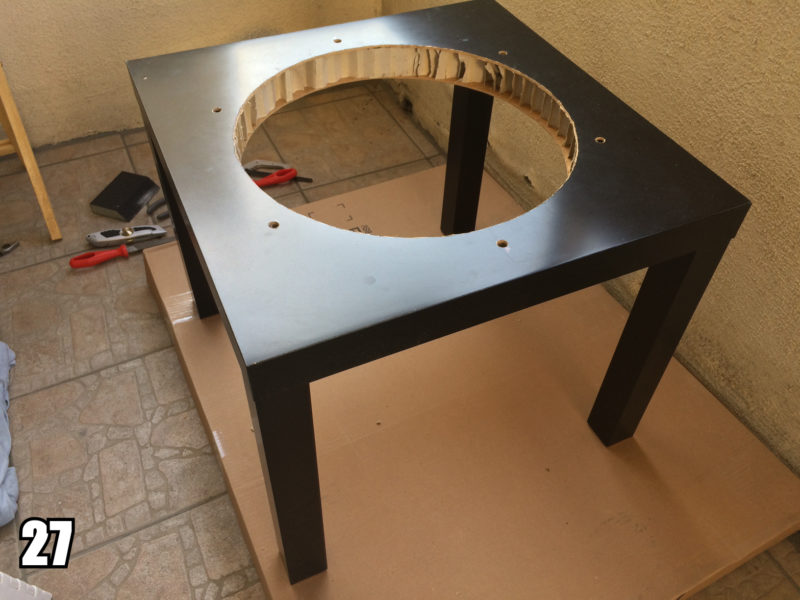
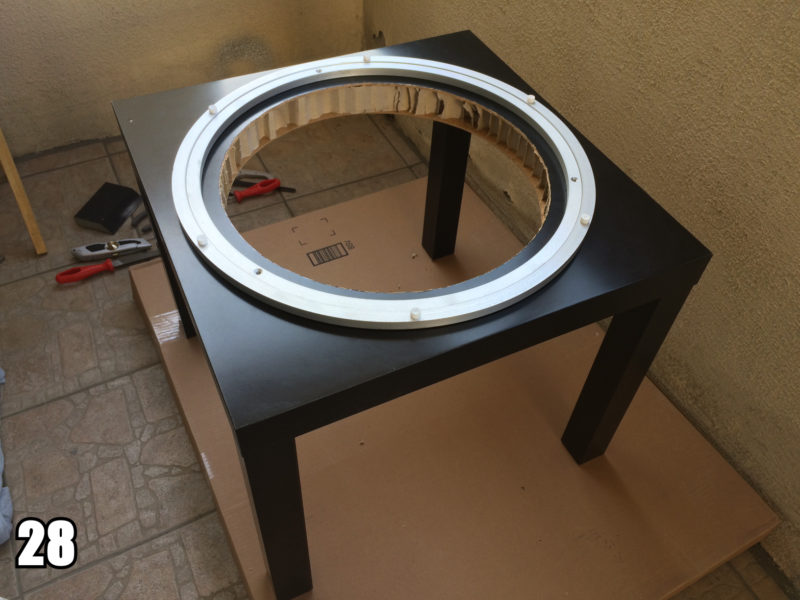
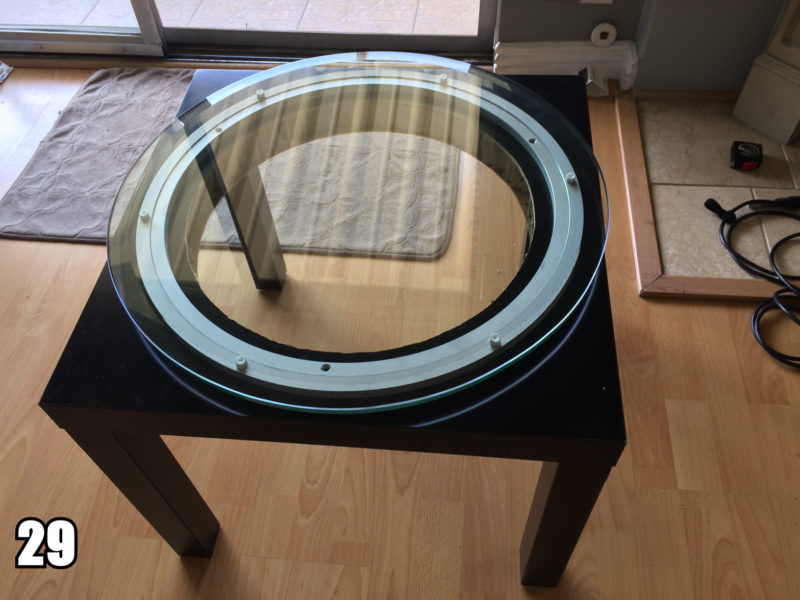
Next the table legs were put back together, the lazy suzan was then set back into place. This is pretty much where day one was complete. I placed the 22″ Round Fab Glass on top for a quick test of the moment and it was smooth. [Imgs 27-29]


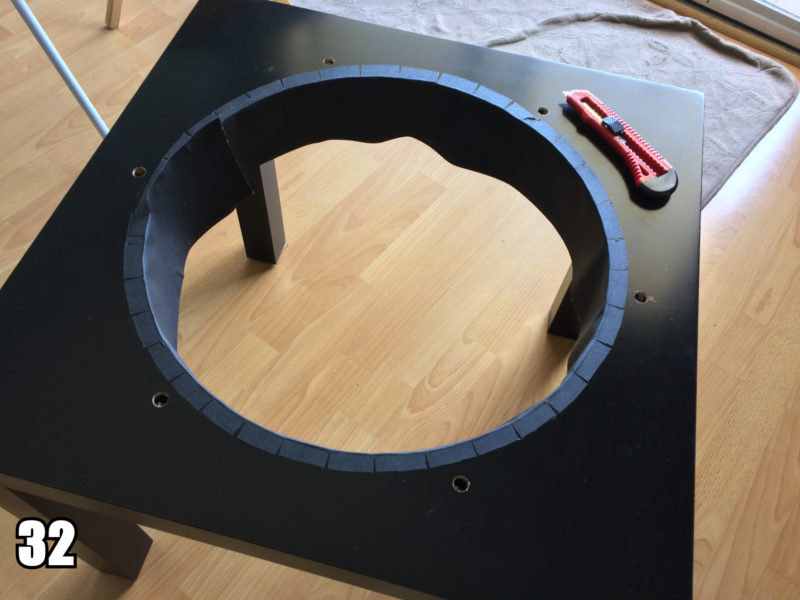
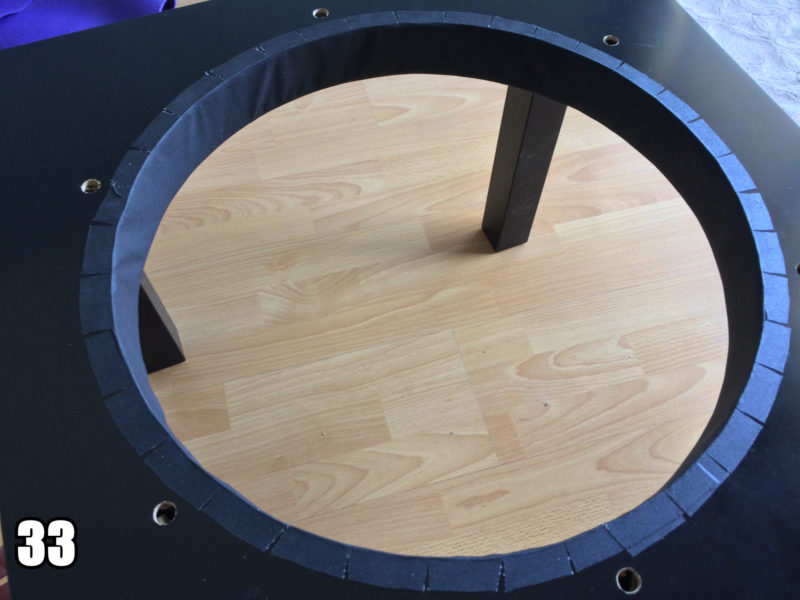
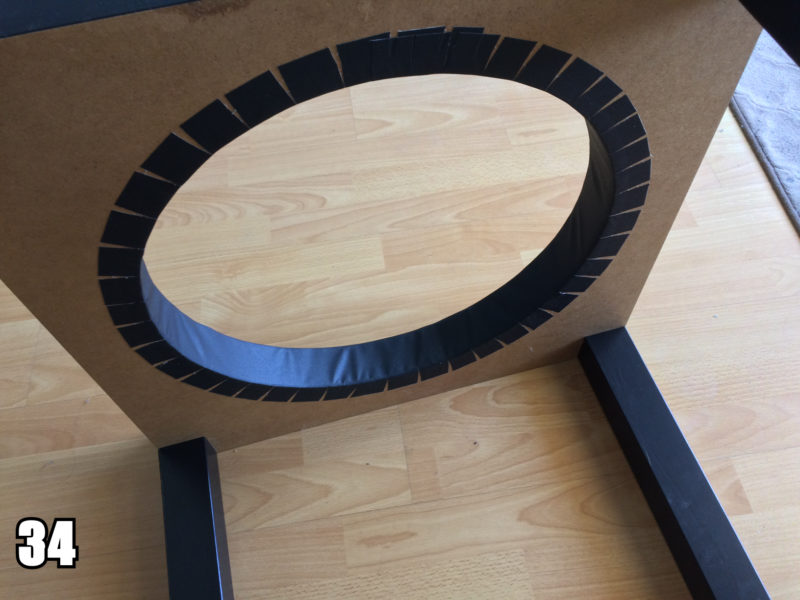
It was time for some polishing details and cleanup. Four inch wide black gaff tape was used to line the inner opening. This cleaned up the look, kept sawdust particles from leaking everywhere, and would help cut down on light reflection during photogrammetry capture time. [Imgs 30-34]
Continue to Ikea Lack Photogrammetry Turntable Part 3