June 11th 2018 08:45:57am
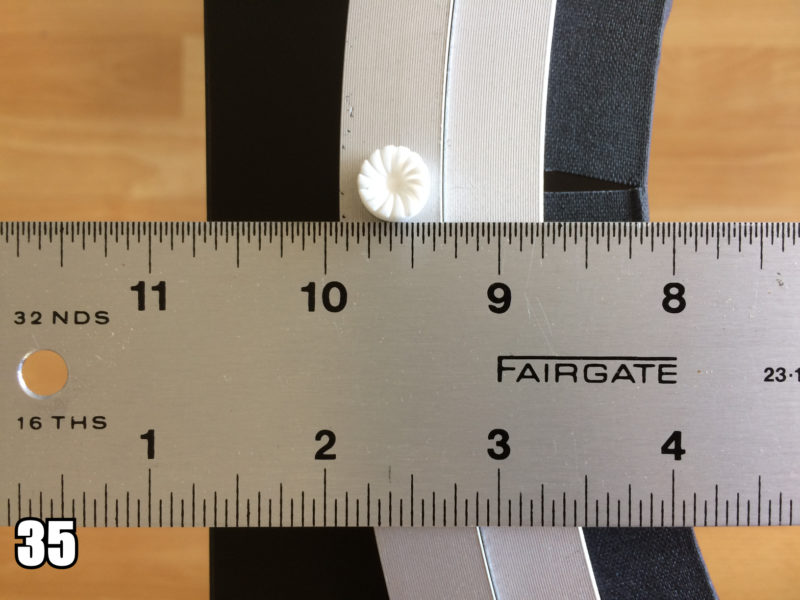
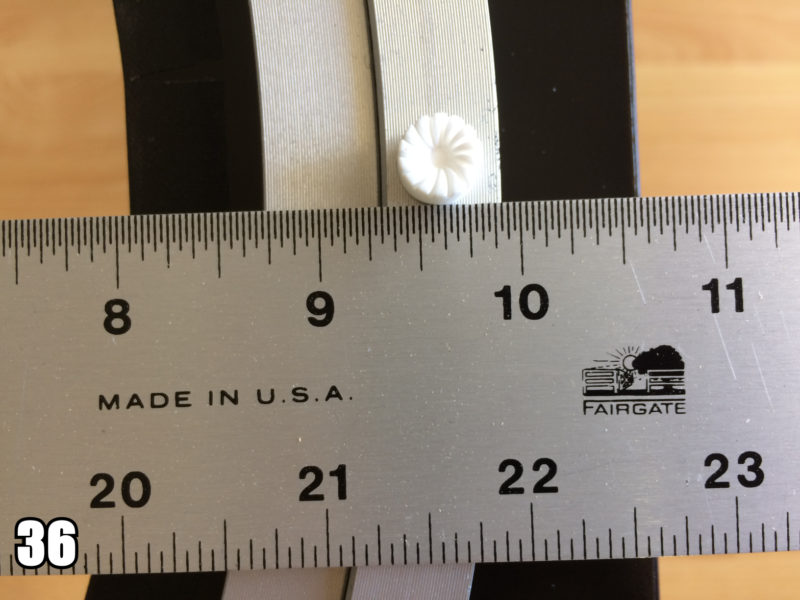
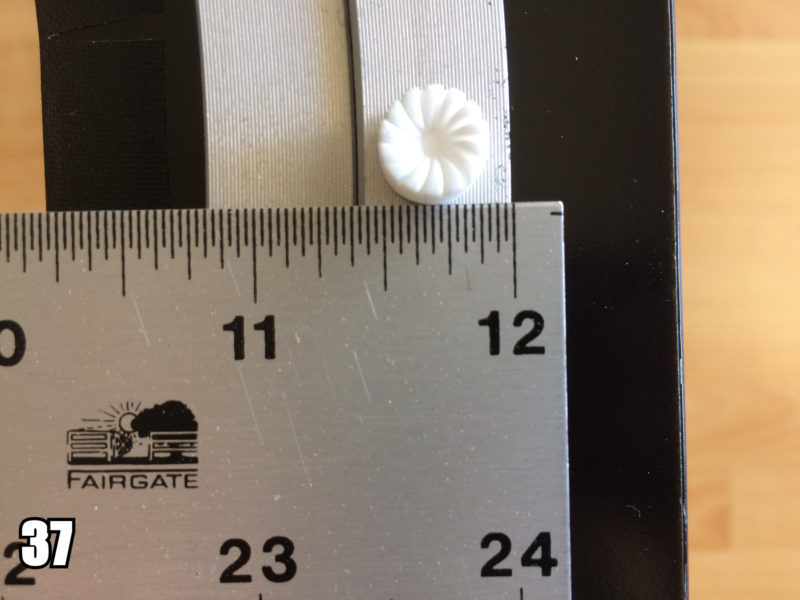

At this point I wanted to add some marking on the lazy susan. These are basically a marking in degrees along the outer edge of the lazy susan. This helps during photogrammetry capture time by giving me a visual clue as to how far I have rotated the glass top inbetween each photo. I normally use ten degree increments when capturing on a table top surface. After researching online I came across a nice Azimuth Circle to use. The markings were nice and clear. I took the image into photoshop and scaled it to fit my measurements of the lazy suzan. [Imgs 35-38]
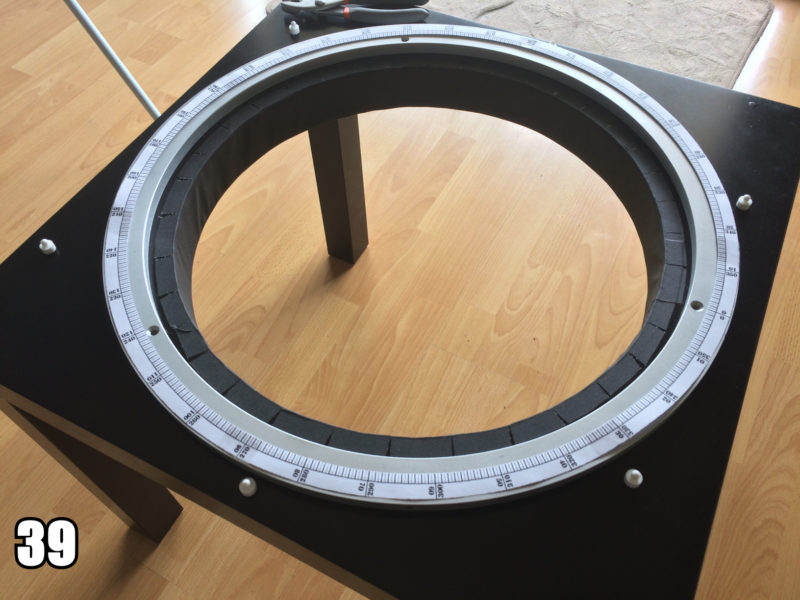
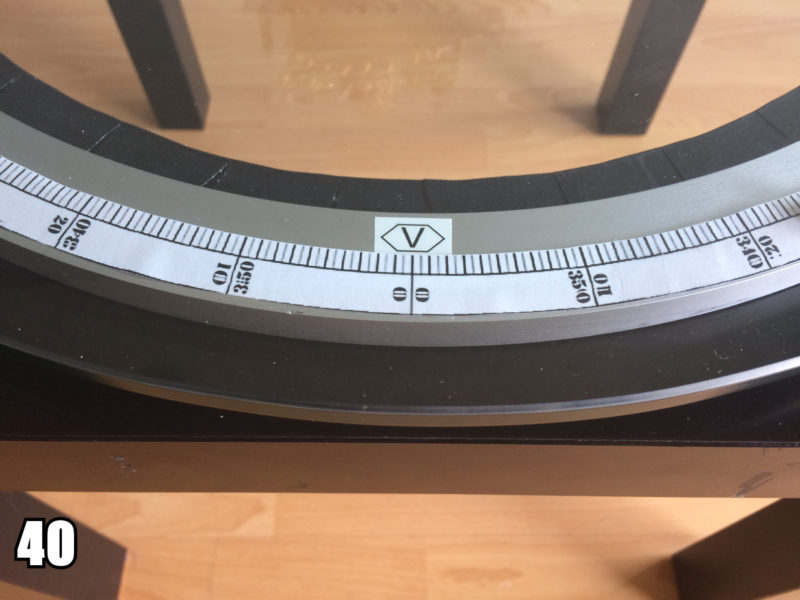

The Azimuth circle was printed on multiple sheets of paper which were cut out, and then taped together. With a little bit of help from my wife, and some double stick tape, we got the Azimuth placed right onto the aluminum ring. For kicks I even used my label printer to place an arrow marker as a starting locator when capturing. [Imgs 39-40]
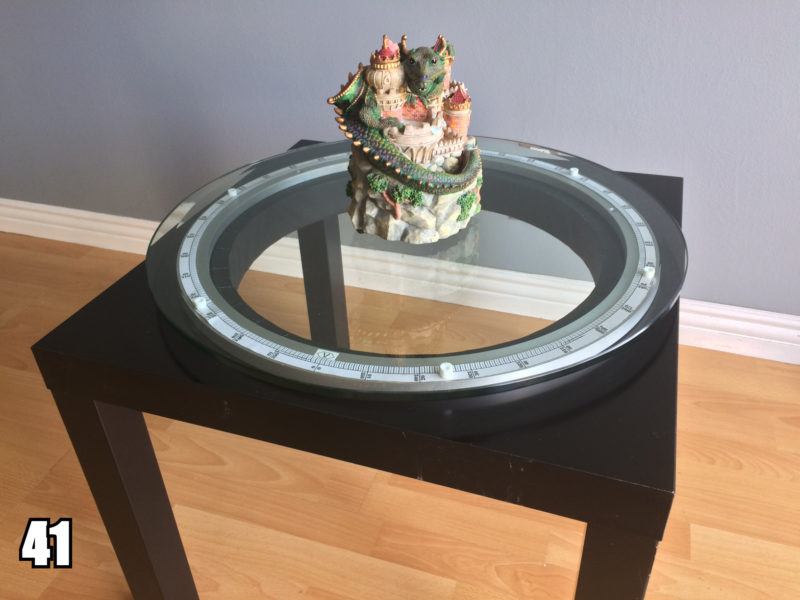
Finally the table was fully complete. I was thrilled with the end result, and had to immediately do a test capture to try the system out. I grabbed an old table top water fountain I had laying around, and proceeded to setup my various camera gear that I’ve picked up over the last twenty years. For those interested, there are two Alien Bee 400 strobes, and two Canon 5D Mark III cameras, some old original Pocket Wizard MultiMAX for sync, and a Sirui tripod being used. [Imgs 41-42]

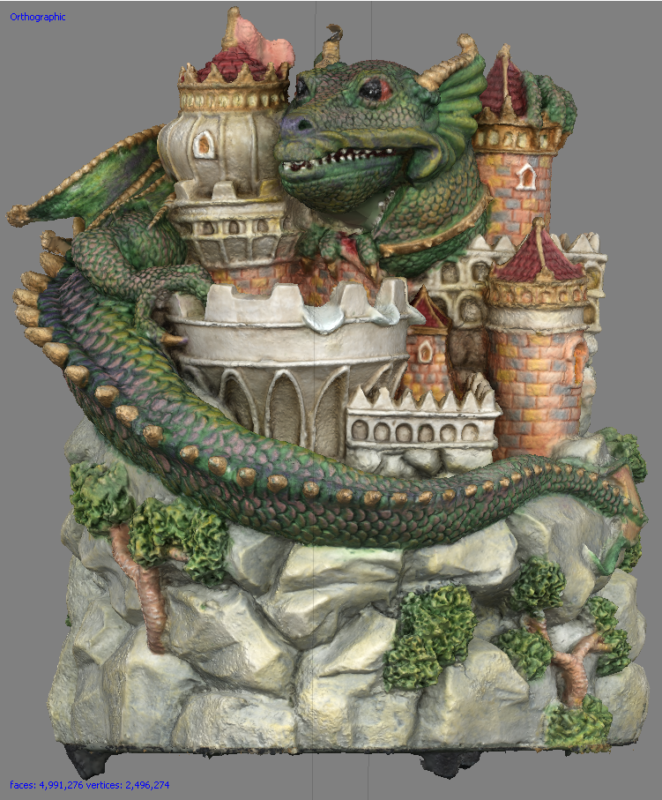
The resulting photogrammetry capture of the dragon fountain came out really well. I was very happy with the results. My plan for being able to capture the bottom details of an object as well as the primary detail worked. The video shows the Agisoft PhotoScan cameras, and 3D details that I was able to capture.
My take away from this entire project was that I definitely need to find a way to get a workshop with proper wood working tools. As far as the finished product goes, I would advise that you make a wider circular opening on the bottom half of the table if you plan to make this. The Ikea Lack table is two inches thick, so it creates a bit of an obstruction when capturing below it. My original plan was to use a thinner table, but was unable to really find anything. I did however have the old Lack table sitting around. Actually it was my wife’s, but I did replace it with a new one so we weren’t out a table if this project went horribly wrong. Since it didn’t, we now have a cool snack serving table when I’m not doing photogrammetry work.
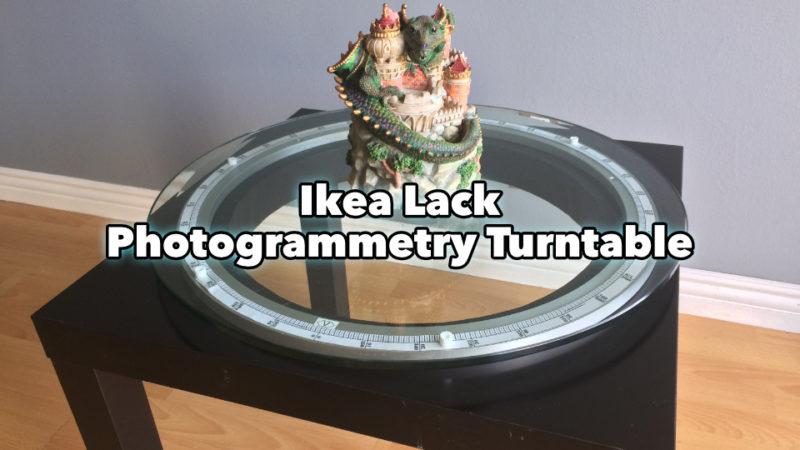
Ikea Lack Photogrammetry Turntable Part 1
Ikea Lack Photogrammetry Turntable Part 2