June 10th 2019 08:00:10am
This week
Thanks for stopping by again to check out another random video tutorial based on an experiment I ran earlier in the week. These ideas are literally born from simply playing around with the software. My mindset when building stuff is if a thing is meant to do something specific, then how can I break it to make it do something else. At the very least how can it be used to solve a non obvious problem. In this case I was taking a system that is meant to start, envelope an entire space, then end. My goal was to keep it from ending.
This sounds technical
I know the title sounds very technical, and it is, but that is why I am making this tutorial to help break it down into something understandable for non technical creatives. Self-feeding particle systems are able to animate infinitely. Not loop specifically, but they can just keep going without further input from you, and still remain confined to your build. The final particle animation can be used verbatim as a specific creative choice to layer back in your compositing, or you can tie data to the system to drive other animation elements. There are a variety of possibilities.
Here are some examples.
Concepts for our build
In the system we are going to build, we will be setting up an infection that will continuously cycle through our starting particles, begin an incubation period, then become infected. After a time of being infected they will return to our starting particles to continue the cycle. Literally feeding itself. Now the terms incubation and infected sounds like a creepy effect, but don’t worry, these are merely descriptive terms in the context of the X-Particles world. They are not representative of the final visual being something from a horror film. Just concepts of actions that take place.
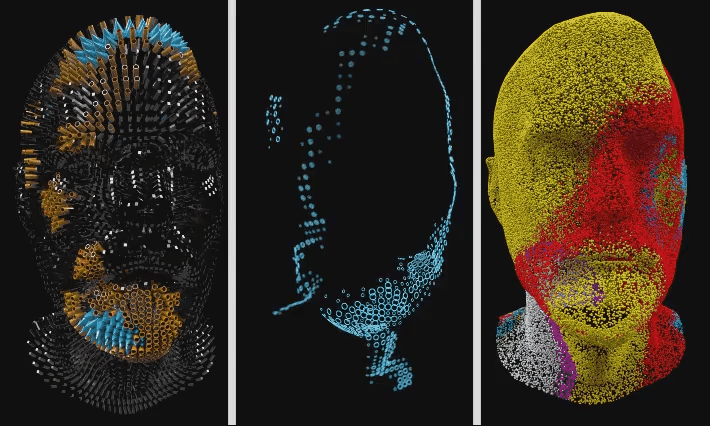
Once we have built the core self-feeding system, we’ll start adding geometry and learning about using the particle radius and how it can helps isolate our particles groups for better control. The core system consists of two source seed points minimum. The result of which you can see in the GIF below on the far right (#4). That black and white band flowing across the surface is actually two particle groups colored the same. This gives the appearance that the movement is of the same source. Even though technically it is two different systems creating it.
Later in the video we will add multiple seed points. This will result is a more organic pattern shown in GIFs #1, #2, and #3.
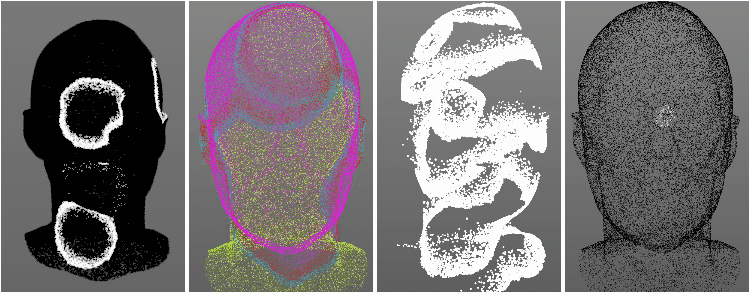
Examples: #1, #2, #3, #4
Confusion
At first glance you can see these animated GIFs and still not understand fully what this is all about. Cool moving patterns, but how does it work for anything else. That’s what I hope to teach in the video tutorial. It’s much easier to show visuals and explain why than it is to describe in words alone sometimes. I will explain a bunch of things along the way.
There are a variety of ways to manipulate the particles after the core build has been created. I can only cover so much in the video tutorial so I encourage you to experiment with other X-Particle modifiers once you have the build working. Some other ideas were to start pushing particles out from the surface and pull them back in with each particle group. This could give an interesting movement to the particles on top of the radius data that I show in the video.